White Spots on Monitor Screen: Causes, Diagnosis & Fix Guide (2026)
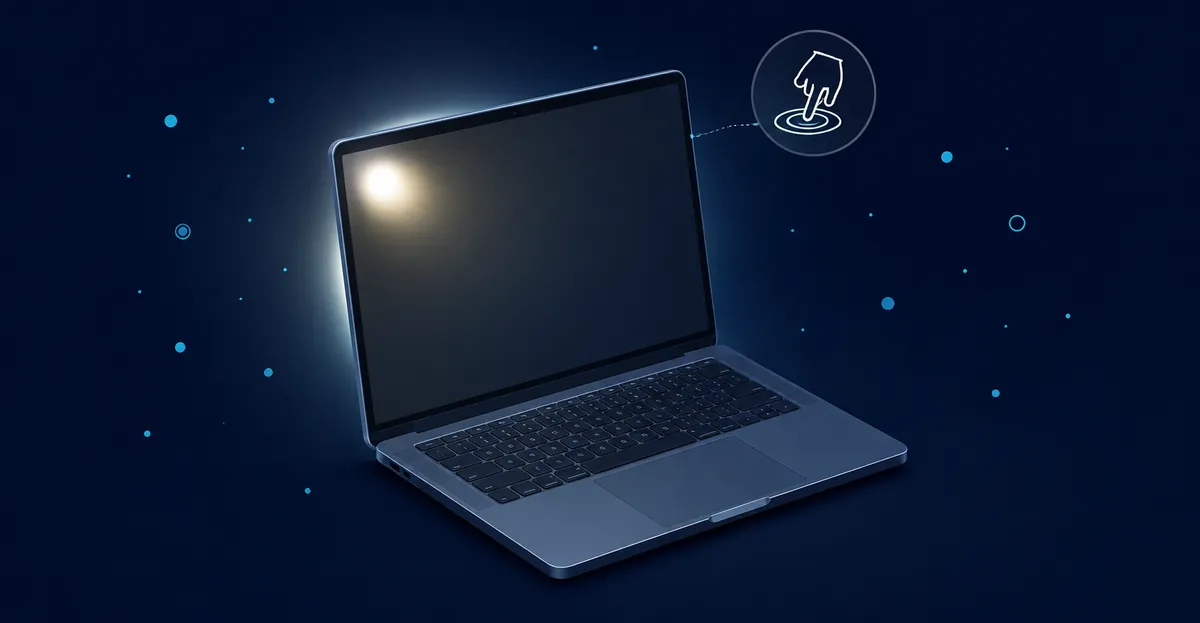
White spots on a monitor screen are localized bright patches that remain visible across most display content. Unlike a stuck pixel (sharp single-pixel) or a dirty screen (cleanable), a pressure-induced white spot is a permanent defect caused by damage to the internal optical stack of the LCD panel. The vast majority of white spots are pressure-related and cannot be fixed at home.
This guide explains the four causes of white spots, how to distinguish them, and what your realistic options are for repair, replacement, or living with the defect.
What Are White Spots on a Monitor
A white spot on a monitor is a localized bright area that appears excessively bright compared to the surrounding display. White spots are distinct from other display defects:
- White spot — soft cloudy bright patch, often several millimeters wide, visible across backgrounds
- Dead pixel — single-pixel permanently black dot (opposite problem, opposite appearance)
- Stuck pixel — single-pixel permanently glowing white or colored, sharp-edged
- Backlight bleed — bright glow around panel edges and corners, IPS glow shifts with viewing angle
- Dust on screen surface — soft gray smudge that wipes away with a microfiber cloth
White spots typically cannot be wiped clean because the defect is inside the panel — between the LCD glass layers or in the backlight diffuser. Pressure damage to the internal optical stack is the most common cause.
What Causes White Spots
1. Pressure Damage (Most Common)
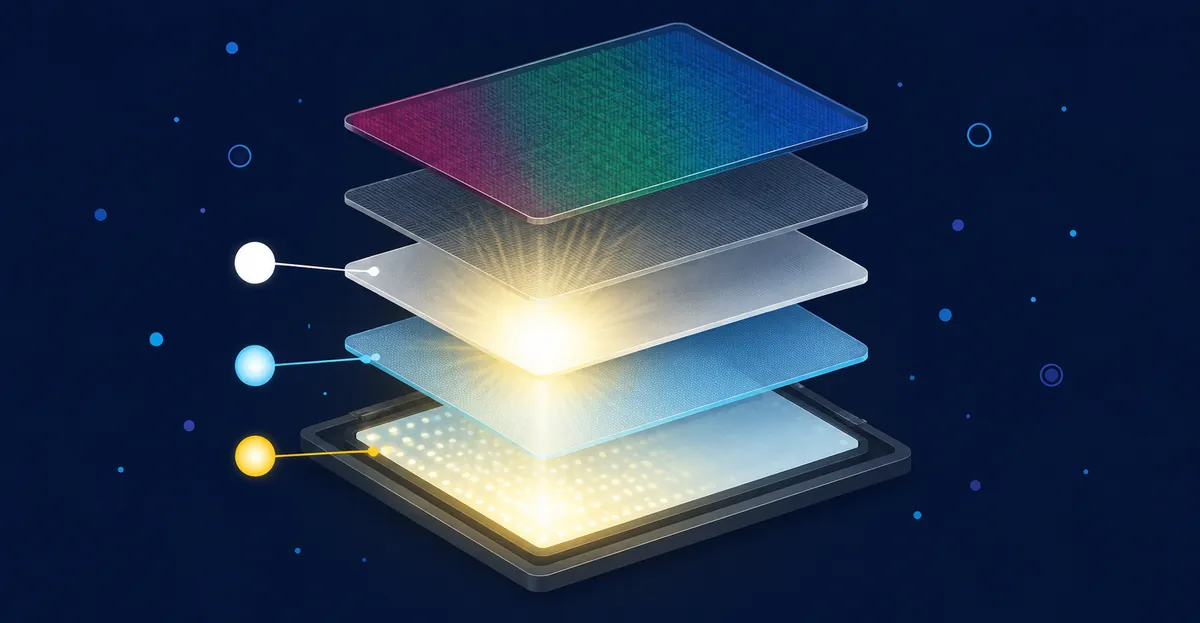
The most common cause of white spots is mechanical pressure on the LCD panel that damages the backlight diffuser sheet — a polymer optical film inside the panel that scatters LED light evenly across the screen. When the diffuser sheet creases, the crease acts like a tiny lens, concentrating backlight into a visible bright zone.
Valley Ai's LCD pressure guide explains the physics: the diffuser sheet is designed to scatter LED light uniformly, but when mechanical stress folds the film, the crease concentrates light into a small bright zone. This is why pressure creates a white spot instead of a black dead-pixel area — the light source still works, but the light path is physically distorted.
Common pressure sources:
- Closing a laptop with a pen or other object on the keyboard
- Pressing on the screen during cleaning
- Carrying a laptop in a tight bag with other objects pressing on the lid
- Sitting on a phone or tablet
- Dropping the device or bumping it against a hard surface
- Stacking heavy objects on a closed laptop
- Manufacturing or shipping pressure on a new monitor
Industrial prevention data published by CDTech suggests over 95% of LCD white spot cases involve pressure damage. Once the polymer film folds, it stays folded — these films do not relax back to flat the way a wrinkled shirt might. The only way to remove a pressure-based white spot is to replace the internal optical stack or the entire panel.
2. Backlight Bleeding and IPS Glow
Backlight bleed is light leaking from the edges or corners of the LCD panel due to imperfect sealing between the panel layers and the frame. It appears as a cloudy bright glow around the perimeter on dark backgrounds. All LCD panels have some degree of backlight bleed — PixelTest.net notes that some amount of light leakage is normal and accepted across the industry.
IPS glow is a separate phenomenon: it is a property of IPS panel technology where light scatters differently at viewing angles. IPS glow appears as a shimmering glow in the corners that changes when you shift your viewing position. It is inherent to IPS panels and cannot be fixed.
The key distinction:
- Backlight bleed: appears the same regardless of viewing angle
- IPS glow: changes with viewing angle (typically more visible at angles, less visible head-on)
- Pressure damage: localized soft patch anywhere on the screen, usually stable across angles
3. Stuck Pixels (Sharp Single-Pixel Bright Spots)
A stuck pixel is a single sub-pixel whose TFT driver circuit is jammed in the max-brightness state. It appears as a sharp single-pixel dot of white (or red, green, or blue depending on which sub-pixel is stuck). Stuck pixels are sometimes fixable with pixel-reviver software like JScreenFix, which rapidly cycles colors to unstick the transistor.
A stuck pixel is visually distinct from a pressure-induced white spot:
- Stuck pixel: sharp, single-pixel, same color across backgrounds, sometimes curable
- Pressure spot: soft, multi-pixel diffuse patch, white across backgrounds, permanent
4. Delamination (Layer Separation)
Delamination occurs when the adhesive that bonds the LCD layers together fails, allowing the layers to separate slightly. This creates air gaps that scatter backlight unevenly, producing soft bright patches. Delamination is caused by:
- Aging adhesive (5+ years of use)
- High ambient temperatures (above 35°C / 95°F sustained)
- High humidity environments
- Manufacturing lamination defects (visible from new)
Once delamination starts, it usually progresses slowly. The white spot may grow gradually over months. The only fix is panel replacement.
5. Battery Swelling (Mobile Devices and Laptops)
A swollen lithium-ion battery can exert pressure on the LCD assembly from inside the device. The pressure can deform the backlight unit diffuser sheet and create pressure-induced white spots. If a laptop, phone, or tablet suddenly develops a white spot AND has any of these warning signs, the battery may be the cause:
- Device feels unusually hot during normal use
- Case has a visible bulge, seam separation, or warped shape
- Touchpad or keyboard feels raised or uneven
- Device shuts down unexpectedly at high battery percentage
Stop using the device immediately and have the battery inspected by a qualified technician. A swollen battery is a fire hazard and should not be charged, used, or transported in checked luggage.
6. Manufacturing Defects
Some monitors ship with visible white spots from the factory. These are typically backlight bleed that exceeded the manufacturer's defect threshold, delamination from a faulty lamination process, or particles trapped inside the panel during assembly. Manufacturing defect white spots are usually eligible for retailer return or warranty replacement within the first 30 to 90 days.
How to Diagnose White Spots
Step 1: Clean the screen. Use a dry or slightly damp microfiber cloth to clean the panel surface. Many reported white spots turn out to be smudges or surface dust that wipes away. If the spot disappears with cleaning, it was not a real defect.
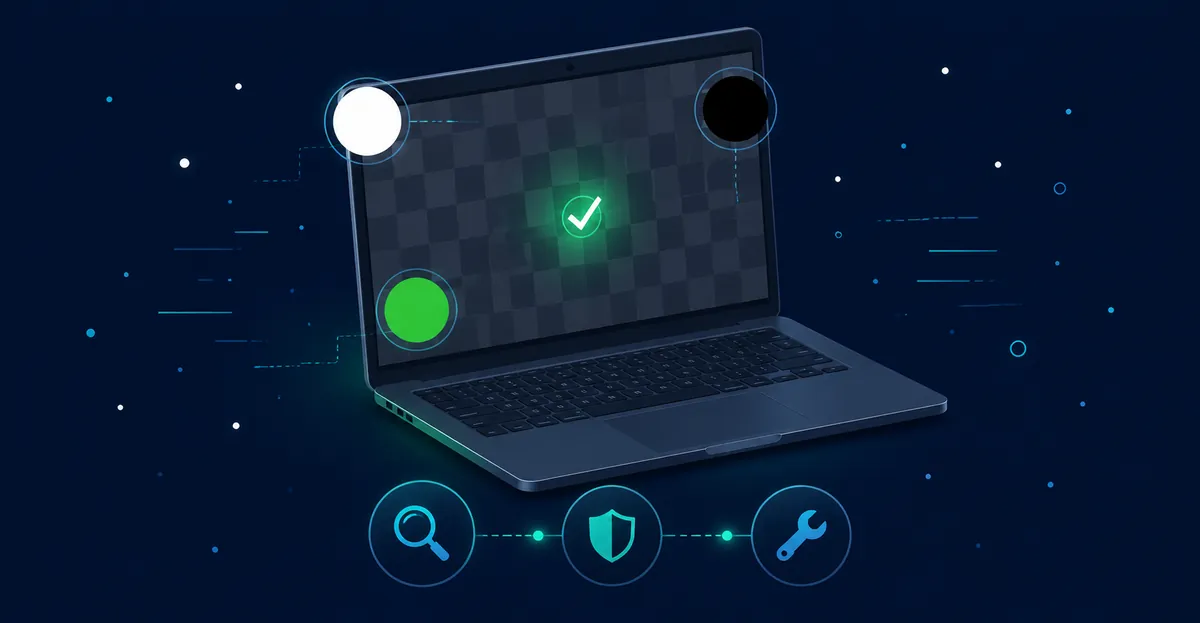
Step 2: Display a pure black screen (#000000). Open a full-screen black image in a dimly lit room. Note the location, size, and shape of any white spot. Single-pixel sharp dots are stuck pixels; multi-pixel diffuse patches are pressure damage or delamination.
Step 3: Display a pure white screen (#FFFFFF). Pressure-induced white spots remain visible against white (they appear as soft gray or slightly brighter zones). Stuck pixels blend in (they are already white). Backlight bleed is harder to see on white.
Step 4: Display pure red, green, and blue (#FF0000, #00FF00, #0000FF). Pressure-induced white spots show as brighter zones across all colors. Stuck pixels show as a single color mismatch against the relevant primary color.
Step 5: Check viewing angle. Move your head left, right, up, and down while the spot is visible on a dark background. If the spot's brightness changes significantly with viewing angle, it is IPS glow. If it stays consistent, it is backlight bleed or pressure damage.
Step 6: Recall any impact events. Did you recently close the laptop with something on the keyboard? Carry the device in a tight bag? Drop it? Press on the screen during cleaning? If yes, pressure damage is the most likely cause.
Step 7: Check for battery swelling (mobile devices and laptops). If the device has any of the battery warning signs listed above, stop using it and have the battery inspected.
Step 8: Test for hardware vs software. Connect the monitor to a different computer with a different cable. If the spot remains identical, the monitor is at fault. If the spot changes or disappears, the original computer or cable was the issue (rare for white spots, but worth ruling out).
How to Fix White Spots
Fix 1: Pixel Reviver Software (Stuck Pixels Only)
When to use: The white spot is a sharp single-pixel dot that may be a stuck pixel.
- Open JScreenFix (free) or a dedicated pixel-fixing app
- Position the color-cycling window directly over the affected pixel
- Run the color cycle for 20 to 60 minutes
- Check the pixel after each cycle
- A stuck pixel may revert to normal; a true pressure spot will not respond
Success rate for stuck pixels is roughly 60% within the first hour of cycling. Pressure-induced spots do not respond to pixel reviver software.
Fix 2: Reduce Backlight Brightness (Backlight Bleed / IPS Glow)
When to use: The white spot is at the edges or corners and shifts with viewing angle.
- Open your monitor's on-screen display (OSD) menu
- Lower the brightness setting to 50 to 70%
- Backlight bleed and IPS glow are less visible at lower brightness
- Many users find brightness above 70% is uncomfortably bright anyway
This does not eliminate the bleed or glow — it reduces its visibility. The defect remains, but is less distracting during normal use.
Fix 3: Bias Lighting (Backlight Bleed / IPS Glow)
When to use: The white spot is backlight bleed or IPS glow and you cannot reduce the monitor brightness for work reasons.
- Place LED bias lighting behind the monitor (a strip of LEDs along the rear edges)
- Bias lighting raises the perceived black level of the room, making edge glow less noticeable
- Recommended color temperature: 6500K (neutral white), or warm 2700K to 3000K for evening use
- Bias lighting does not fix the defect; it makes the defect less noticeable during use
Fix 4: Manufacturer Warranty Claim
When to use: The white spot exceeds the manufacturer's defect threshold, and the monitor is within its warranty period.
- Locate your monitor model's defect policy (most manufacturers publish severity thresholds for backlight bleed and pressure damage)
- Document the spot with photos from multiple angles and backgrounds
- Contact the manufacturer's support with the model, serial number, purchase date, and photos
- Most manufacturers replace panels with visible defects that exceed their published thresholds
Pressure damage from user impact is usually NOT covered. Backlight bleed or manufacturing defects within warranty ARE typically covered.
Fix 5: Retailer Return (New Monitors)
When to use: The monitor is new (within 14 to 30 days of purchase) and has any visible white spot.
- Most retailers accept returns for any reason within 14 to 30 days
- Return the monitor immediately rather than waiting for warranty service
- Repack in original foam — return shipping damage voids the return
- Consider ordering a different batch — same model, different manufacturing run, different defect lottery
Retailer return is almost always faster than manufacturer warranty for new monitors.
Fix 6: Live With It (Acceptable Cases)
When to use: The white spot is small, located in a non-central area, and out of warranty.
- Use the monitor at moderate brightness (50 to 70%)
- Add bias lighting behind the monitor
- Most white spots are barely noticeable during normal work — only visible when displaying solid colors
- A small white spot does not indicate that more will appear
- Most users adapt within a few weeks and stop noticing small white spots
A small pressure spot is a cosmetic defect, not a functional failure. The monitor continues to work normally.
When Hardware Repair Is Needed
Seek professional repair or replacement when:
- The white spot is large enough to be distracting during normal use
- Multiple white spots have appeared (suggesting broader panel degradation)
- White spots are growing over time (suggesting active delamination)
- The device shows battery swelling signs (immediate battery replacement needed)
- The monitor is premium or professional grade where display uniformity matters
Cost expectations:
- Retailer return: free (within return window)
- Manufacturer warranty panel replacement: free (within warranty if defect threshold met)
- Out-of-warranty panel replacement: $200 to $600 depending on size and grade
- Battery replacement (for swollen battery): $80 to $200 depending on device
For monitors under $300 new, replacement is almost always more cost-effective than panel repair.
Prevention Tips
White spots from pressure damage are the most preventable cause:
- Never close a laptop with anything on the keyboard — a pen, earbuds, paper, even a small crumb can leave a mark
- Carry laptops in padded sleeves with separate compartments for accessories
- Use a microfiber cloth and gentle circular motions for screen cleaning — never spray cleaners directly on the panel
- Don't stack heavy objects on a closed laptop
- Avoid placing devices face-down on hard surfaces
- Use a screen protector on tablets and phones in environments with high impact risk
- Keep devices out of extreme heat (above 35°C / 95°F sustained) — heat accelerates adhesive aging and increases battery swelling risk
For new monitors: inspect immediately after unboxing. Test with solid black, white, and primary color screens. If any white spot is visible from the start, return it within the retailer's return window rather than accepting the defect.
Related Guides
- LCD Bright Spots: Broader coverage of bright spots on LCD screens
- Black Dots on Screen: The opposite defect — black dots on the screen
- LCD Bleeding: Backlight bleed and edge glow causes and fixes
- LCD Spot Damage: Physical damage to LCD panels
- Screen Test Tool: Test for white spots and other defects
Conclusion
White spots on a monitor are most commonly pressure-induced damage to the internal backlight diffuser sheet. Once the polymer optical film creases, it stays folded — the spot is permanent and cannot be removed by pressing, massaging, or software. The fix is screen replacement, warranty service, retailer return (for new units), or learning to live with the cosmetic defect. Prevention is far more effective than repair: avoid pressure on the screen surface, never close a laptop with objects on the keyboard, and inspect new monitors immediately for visible defects.
Use our free screen test tool to display solid colors across the screen and identify white spots, pressure damage, backlight bleed, and other display defects. The tool's black-white-red-green-blue-gray sequence distinguishes pressure spots from stuck pixels and backlight bleed.