A bright spot monitor problem is a fixed glowing area on a desktop or external display—not a temporary reflection and not the same as a dark dead pixel. Most people notice it during movies, dark UI themes, or a solid black test screen. This guide stays on external and desktop monitors: OSD isolation, HDMI/DisplayPort swaps, external-screen-versus-GPU checks, and brand pixel policies. For the broader LCD stack across laptops and phones, see our LCD bright spots guide; this page is the monitor-intent playbook.
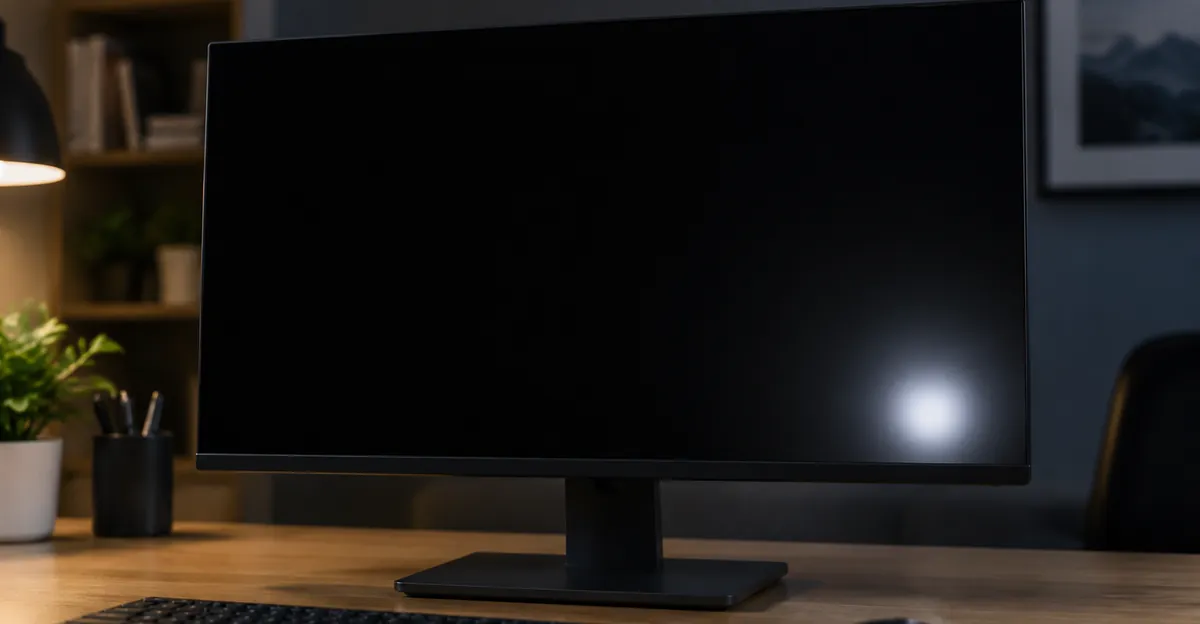
What Bright Spots on a Monitor Look Like
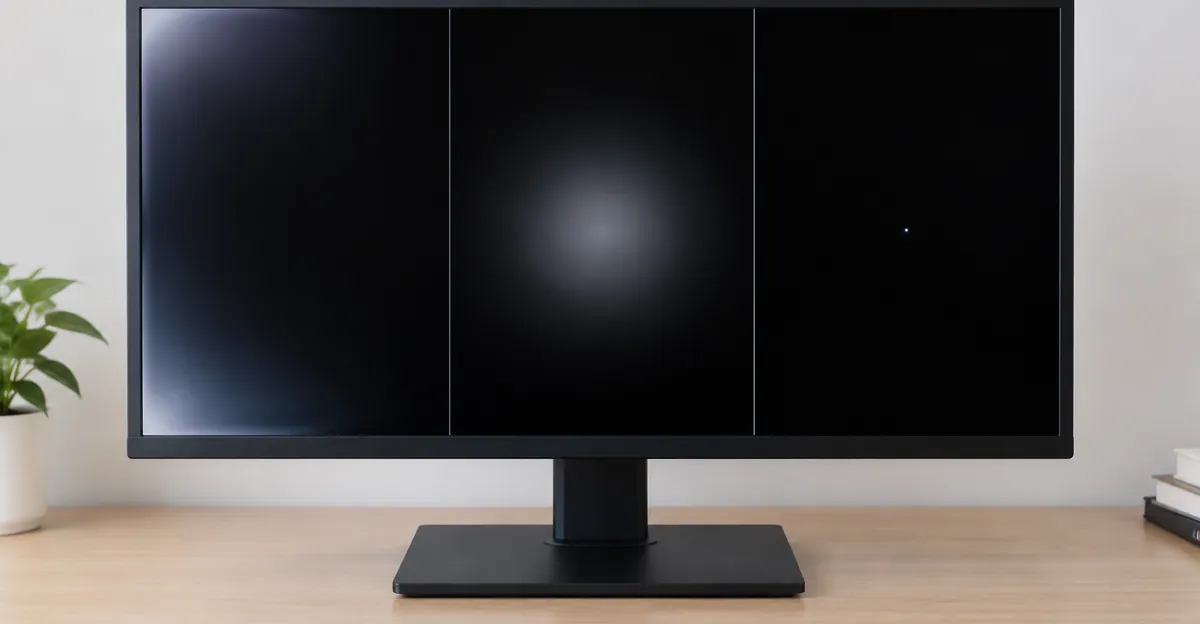
Bright spots on a monitor are regions that transmit or emit more light than neighboring pixels. On a pure black field in a dim room they look like pinpricks, soft clouds, or corner glow. On mid-gray they can look like dirty patches. On white, some defects vanish while others become chalky blotches.
Three visual families dominate desktop reports:
| What you see | Typical size | Best test field | Most likely class |
|---|---|---|---|
| Sharp white/colored pinprick | ~1 pixel | Black | Hot / stuck sub-pixel |
| Soft glow at edges or corners | Centimeters, irregular | Black (high brightness) | Backlight bleed / IPS light leak |
| Cloudy circular or oval patch | Millimeters to centimeters | White and black | Pressure / diffuser damage |
Manufacturer support pages for gaming monitors—including KTC’s defect guide—recommend cleaning the glass first because dust and fibers photograph like pixel defects. Then shoot full-frame and close-up photos on black, white, red, green, and blue so you can compare later.
A screenshot test helps only when the artifact is rendered by the GPU or OS: if the spot is missing from a screenshot viewed on another device, the fault is on the physical panel (or occasionally the scaler path that never hits the framebuffer). Fixed panel glow almost never appears in a screenshot. Moving sparkles that do appear in screenshots point away from a classic bright-spot panel defect and toward GPU or driver artifacting—see isolation later.
Do not confuse bright spots with shadow on a computer monitor (ghosting trails) or with a true dead pixel (always dark). Soft white patches also overlap the white spot vocabulary; on monitors, “bright spot” and “white spot” are often the same defect described by different search phrases.
Practical takeaway: Describe the defect by edge sharpness, location (center vs corner), and which solid color makes it worst. That description decides whether you manage brightness, attempt pixel cycling, or prepare an RMA packet.
Monitor Bright Spot Causes: Bleed, Pressure, Hot Pixel
A monitor bright spot almost always comes from one of three hardware mechanisms. Software themes and Windows night light do not create a fixed glowing patch that survives the OSD.
Backlight bleed and IPS light leak
LCD monitors do not light each pixel independently the way OLED does. An LED backlight (edge strips or a full array) shines through a light-guide and diffuser stack; liquid crystals act as shutters. Imperfect seals between the chassis and optical films let light escape unevenly—especially at corners. KTC notes that slight edge leakage on some IPS gaming panels, seen on pure black in a dark room, is not always treated as a defect. Severe leakage during normal content is a different claim.
Bleed is most visible at high brightness on black. Lower brightness reduces the symptom without repairing the seal. Aging adhesive and thermal cycling can worsen factory bleed over years.
Pressure and diffuser damage
Physical force on the panel—shipping crush, tight VESA mount torque, leaning on the screen, a hard wipe, or a rear chassis dent—can deform diffuser sheets or the liquid-crystal gap. Super User and Tom’s Hardware style discussions repeatedly call these “pressure marks”: soft-edged patches larger than a pixel, often permanent. Royal Display’s LCD white-spot guidance ties fuzzy bright patches to diffusion-stack deformation rather than pixel logic. Rubbing or “massaging” a pressure bright spot can enlarge it; see our pressure damage screen mechanism page for why.
Hot pixels and stuck sub-pixels
A hot or bright sub-pixel is a transistor stuck on—often white (all sub-pixels) or a primary color. ISO 9241-307 defines Type 1 bright full pixels (white on black), Type 2 dark pixels, and Type 3 stuck sub-pixels. These are sharp, one-pixel-scale defects. They are the class brand “zero bright dot” warranties care about. Soft cloudy blotches are not counted the same way as a single bright sub-pixel in most policies.
Less common monitor-side causes
Warped bezels pressing the glass, moisture between optical films, and rare scaler/firmware glitches exist, but they are secondary. Firmware glitches usually vanish after a factory reset or firmware update and do not leave a pressure-shaped cloud.
Differentiation table (exclusive diagnostic aid):
| Cause | OSD still shows it? | Moves with content? | Software can help? |
|---|---|---|---|
| Backlight bleed | Yes | No | Appearance only (lower brightness) |
| Pressure / diffuser | Yes | No | No |
| Hot / stuck sub-pixel | Yes | No | Maybe (color cycling) |
| Bad cable / port noise | Rarely (OSD clean) | Often changes | Cable/port swap |
| GPU artifact | No (OSD clean) | Often moves / captures in screenshots | Driver / GPU path |
Is That Bright Spot on Your Monitor Hardware or Signal?
When you see a bright spot on your monitor, the first fork is panel versus signal path. Desktop monitors make this cheaper than laptops because you have an OSD, multiple inputs, and swappable cables.
Step 1 — OSD and startup logo
Open the monitor’s On-Screen Display. KTC’s official troubleshooting order starts here: if the defect appears over the OSD menu or the startup logo with no PC connected (or with the cable unplugged after the menu is open), the monitor itself is involved. If the menu is clean while Windows still shows a “spot,” chase the PC, dock, cable, or refresh-rate mode.
Many monitors also offer a built-in self-test or solid-color patterns in the service/OSD tree. Run black and white patterns generated by the monitor—not by a browser—when available.
Step 2 — Input and cable chain
If the OSD is clean:
- Reseat both ends of the HDMI or DisplayPort cable.
- Swap to a known-good, short, certified cable (VESA DisplayPort or Premium High Speed HDMI as appropriate).
- Move to another GPU port and another monitor input (HDMI ↔ DP).
- Bypass docks, KVMs, USB-C hubs, and cheap adapters.
- Set native resolution and a standard supported refresh rate; temporarily disable HDR, VRR/FreeSync/G-Sync, MPRT, and aggressive overdrive while testing—settings that create motion artifacts can also confuse diagnosis even when they do not create true bright spots.
SilverPC-style cable guides note that a fixed white dot is more often a pixel than a DisplayPort fault, but wiggling a loose connector that makes the artifact flicker still proves a contact problem. Treat cable swaps as a five-minute filter, not as proof that panels never fail.
Step 3 — Second PC or console
Plug a laptop, console, or second desktop into the same monitor input with the same cable. If the bright spot remains on every source and in the OSD, the panel (or internal scaler board) owns the fault. If only one PC shows it and the OSD is clean, that PC’s GPU, driver, or intermediate dock is the suspect.
Step 4 — Screenshot and solid-color browser test
With the panel still connected, open our Screen Test tool for full-screen black, white, and RGB. Photograph the monitor (not a screenshot) for warranty. Separately take a screenshot: absence of the spot in the saved image supports a panel-side bright spot; presence of matching sparkles or blocks on every display output supports GPU-side investigation.
Decision rule: OSD/logo shows it → panel. OSD clean + cable/PC swap changes it → signal path. OSD clean + every PC shows identical fixed glow → still likely panel (scaler/panel path), but confirm with self-test patterns.
External Monitor vs Laptop Screen: Isolation Tests
External monitor troubleshooting and laptop-panel troubleshooting share vocabulary but reverse the isolation logic.
When the bright spot is on the external monitor
You already have the best tools: OSD, multi-input, and cable swaps above. The laptop or desktop attached to it is mostly a signal generator. A clean laptop lid screen with a glowing external panel points at the external unit—not at “Windows.”
When you are diagnosing a laptop and using an external monitor as the probe
Connect HDMI/DP to a known-good external display:
| Laptop lid | External monitor | Likely fault |
|---|---|---|
| Bright spot / distortion | Clean | Laptop panel, eDP cable, or lid hinge path |
| Clean | Bright spot | External monitor panel or its cable to that PC |
| Matching moving artifacts on both | Matching | GPU / VRAM / driver (after clean install) |
TechFuelHQ and repair guides use the same split for GPU artifacting: artifacts on every output after a clean driver install implicate the graphics path; a clean external output with a bad lid implicates the built-in panel or ribbon. Fixed soft bright patches on one panel only are almost never VRAM sparkles.
Why this page still belongs in a “monitor” search
Searchers typing “bright spot monitor” usually mean the big screen on the desk. They need OSD and warranty language. Laptop-only pressure spots from closing the lid on a pen belong in laptop and pressure damage content. Cross-link, do not merge: general LCD mechanisms live on LCD bright spots; this article owns the external-display workflow.
How to Fix Bright Spots on Monitors
How to fix bright spots on monitors depends entirely on the class you identified. There is no universal home remedy that redistributes a crushed diffuser.
Safe first moves (all classes)
- Clean with a dry microfiber cloth. Do not spray liquid onto the panel; moisture at the bezel can migrate into optical layers.
- Photograph on black, white, and gray in normal room light without overexposing the camera (KTC warns phone HDR makes bleed look worse than the eye sees).
- Factory reset the OSD and update monitor firmware if the vendor publishes one—rules out rare menu/firmware glitches.
- Lower brightness and avoid pure-black wallpapers if you are living with mild IPS bleed.
If it is backlight bleed
- Reduce brightness; enable local dimming only if your model supports it and it does not introduce blooming you dislike.
- Check mounting: overtight VESA screws or a twisted arm can stress the chassis and worsen corner glow—loosen to manufacturer torque if you recently remounted the display.
- Accept vs claim: slight black-room corner glow on IPS is often within “normal”; severe glow during normal desktop use is claim-worthy with good photos.
If it is a single hot or stuck pixel
- Try a reputable color-cycling tool for a short, supervised session (browser pixel fixers are the usual approach). Success is inconsistent.
- Do not press the pixel with a cloth or stylus; pressure turns a hot pixel case into a pressure bruise.
- Check your brand’s bright-sub-pixel table—many warranties are stricter on bright defects than dark ones.
If it is pressure or diffuser damage
- Stop mechanical DIY. Heat guns, suction, and massage enlarge damage.
- Warranty or panel replacement is the real path. Out-of-warranty panel swaps on desktop monitors often approach the cost of a new display; compare quotes against a replacement unit.
If the signal path was guilty
- Keep the certified cable, retire the dock/KVM for critical work, and lock a stable refresh rate.
- Update GPU drivers with a clean install only after OSD proved the panel innocent.
What never works for true panel bright spots
Pixel-fix apps cannot repair bleed or pressure clouds. Recalibrating ICC profiles cannot stop light leakage. “Just push harder on the bezel” is how cloudy patches grow. For phone-oriented bright defects, use phone bright spot content instead of monitor folklore.
Cost-of-action ladder: clean → OSD confirm → brightness / settings → cable & port → pixel cycling (hot pixel only) → warranty RMA → replace monitor. Skip steps only when evidence already proves the class.
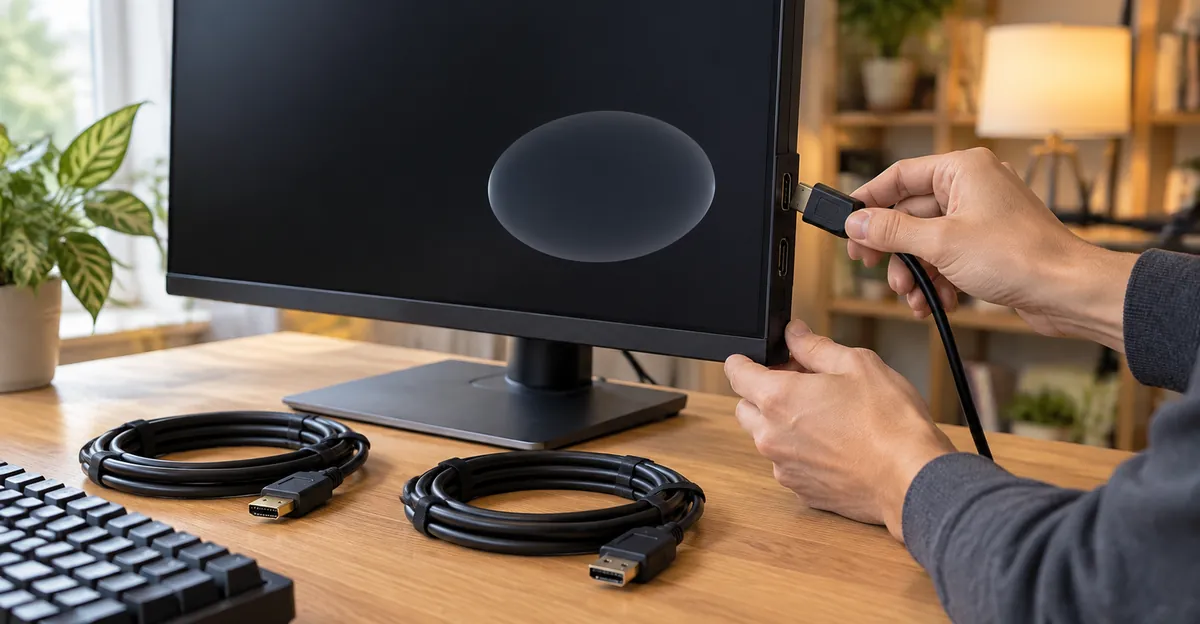
Warranty, Pixel Policies, and When to RMA
Desktop monitors publish pixel policies more clearly than phones. Read your model’s sheet before arguing with support.
ISO classes vs brand marketing
ISO 9241-307 (successor thinking to older ISO 13406-2 discussions) groups panels into defect classes. Class II—common in consumer explanations—allows limited bright and dark full pixels plus sub-pixel defects per million pixels; Class 0 aims at zero defects. Brands then overlay stricter marketing guarantees.
Brand examples (verify your exact model)
- Dell Premium Panel Exchange (select Consumer, Professional, UltraSharp, Gaming/Alienware lines): Dell documents zero allowed bright subpixel defects on covered models for the limited hardware warranty term (often longer than 30-day-only bright-dot promises). Dark pixels follow separate tables. Confirm your SKU on Dell’s Display Pixel Guidelines.
- BenQ: Publishes sub-pixel allowance tables by resolution (for example, FHD/QHD/UHD rows listing allowed bright and dark sub-pixels). A Zero Bright Dot (ZBD) style guarantee appears on specified professional lines with usage conditions (ambient light and viewing distance) and model exclusions—some ZBD windows are short (BenQ documents 30 days from purchase on listed PV/SW/PD models). Read the current BenQ monitor warranty page for your region.
- ASUS / Samsung and others: ToolCenterHub-style summaries note ProArt/ROG lines with stricter bright-pixel rules and Samsung consumer lines often referencing ISO Class II style thresholds (for example, multiple dead pixels before replacement). Always prefer the PDF or support article for your model number.
Soft bright patches vs bright sub-pixels
Warranty agents count sharp sub-pixels. A thumb-sized cloudy pressure bruise may be labeled accidental damage even when you never dropped the monitor—shipping and mount stress still look like handling. If the spot appeared DOA, report within the vendor’s DOA window (BenQ cites 30 days for DOA reporting in its US warranty text; shipping damage often has a shorter report window such as seven business days).
RMA evidence checklist
Borrow the structure manufacturers already ask for (KTC’s list is representative):
- Order number, purchase channel, model, serial label photo
- Full-screen and close-up photos on black, white, red, green, blue
- Short video showing the OSD with the spot visible (proves panel-side)
- List of cables, inputs, refresh rates, and PCs already tested
- Note whether the issue was present at unboxing or appeared later
When to live with it vs replace
Live with mild corner bleed if it disappears at normal brightness and never shows in office lighting. RMA or replace when a center-field bright patch ruins dark-room work, when a bright sub-pixel exceeds your policy, or when the spot is growing. If out-of-warranty repair exceeds roughly half the price of a comparable new monitor, replacement is usually rational—same rule of thumb used in our broader LCD bright spots economics discussion.
FAQ
How to fix bright spots on monitors?
Isolate with OSD and solid colors first. Manage bleed with brightness and mounting checks; try short color-cycling only for a single hot pixel; pursue warranty or replacement for pressure/diffuser damage. Never massage the panel. Full steps are in the fix section above.
Why did a bright spot appear suddenly on my monitor?
Most “sudden” notices are delayed detection: you finally used a dark theme or watched a night scene. True sudden onset often tracks a physical event—move, remount, impact, or aggressive cleaning—or a hot pixel that failed electrically. Document the date and any handling event for warranty.
Can I prevent bright spots on a desktop monitor?
You cannot prevent every factory pixel defect, but you can reduce pressure and seal stress: use correct VESA torque, avoid leaning on the panel, manage cable strain, keep brightness reasonable, and give the chassis airflow. Register the warranty and photograph a black-screen baseline when the monitor is new.
Is IPS backlight bleed considered defective?
Slight black-room corner glow is often treated as normal variation on IPS gaming panels (vendor guidance such as KTC’s). Severe leakage visible during normal content with non-overexposed photos is a stronger claim. Policies vary—ask support with evidence rather than assuming automatic replacement.
Should I use pixel-fixing software on a cloudy bright patch?
No. Those tools target stuck sub-pixels. Cloudy patches are optical-stack damage; cycling colors will not heal them and wastes time before an RMA deadline.
Conclusion
A bright spot monitor issue is usually backlight bleed, pressure/diffuser damage, or a hot pixel on the panel—not a mysterious Windows setting. Prove it with the OSD, then spend minutes on cables and a second source before you spend money. Use Screen Test to classify the glow, read your brand’s bright-sub-pixel rules before filing an RMA, and keep general LCD theory on the LCD bright spots page while this guide remains the desktop/external workflow.
When the spot is dark instead of bright, switch to dead pixel or black spot screen. When motion trails are the complaint, use shadow on a computer monitor. Matching the defect class to the right guide is half of the fix.