A shadow on a computer monitor almost never means one thing. The same faint trail or duplicated edge can come from a degraded video cable, a slow pixel response inside the panel, or a static image that has been on screen for hours. Each of these has a different fix, and the first job is figuring out which one you are looking at. ViewSonic's support documentation treats shadowing, ghosting, and double images as the same family of artifacts caused by signal degradation or interference. Blur Busters, the reference site for display motion testing, treats them as the visible pixel transitions a human eye can actually see. This guide uses both definitions to separate the cheap fixes from the panel-replacement fixes, so you know where to spend your time before you spend any money.
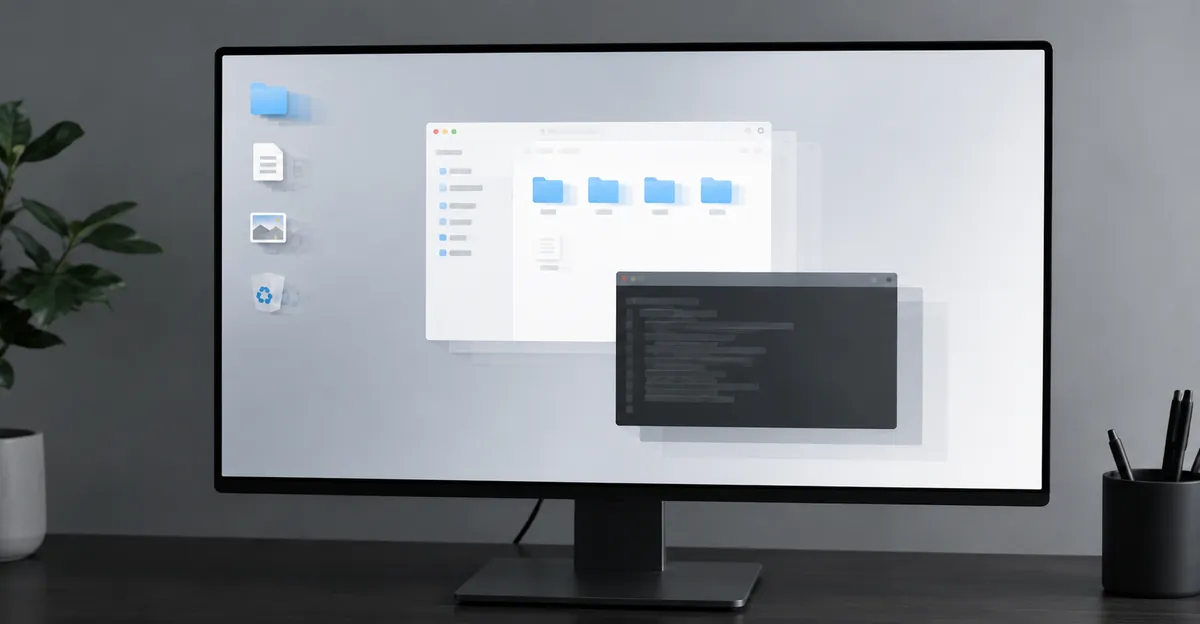
What "Shadow on a Computer Monitor" Actually Means
Most of what users call a "shadow on a computer monitor" is one of three unrelated faults, and the cheapest test is the one that separates them. Open the monitor's built-in On-Screen Display (OSD) menu while the screen is empty, and look at whether the artifact shows on top of the menu, beside it, or disappears with the menu drawn over it.
Static shadow (signal-path). If a faint duplicate of text, windows, or icons stays at a fixed offset even when you drag things across the desktop, the fault sits in the signal chain between the GPU and the panel. ViewSonic names low-quality VGA cables as the most common cause and recommends moving to HDMI or DisplayPort, bypassing any docking station, splitter, KVM, or passive adapter. A bad cable usually throws sparkles, dropouts, or signal errors before it creates classic shadowing, which is the most useful clue for isolating this case.
Motion shadow (ghosting). If the shadow only appears behind moving objects and the screen is clean when nothing moves, that is ghosting, an internal panel problem with a completely different fix. The fix lives in the monitor's overdrive setting, not in any cable swap.
Image persistence. A faint copy of a taskbar, HUD, or icon that was on screen for hours, with no motion required to see it, is image retention, and it usually clears on its own over minutes or days. Permanent burn-in is rare on modern LCDs but more likely on OLED and older plasma displays.
The OSD test rules out the first one immediately: if the menu is drawn cleanly over the shadow, the panel is innocent and the signal chain is guilty.
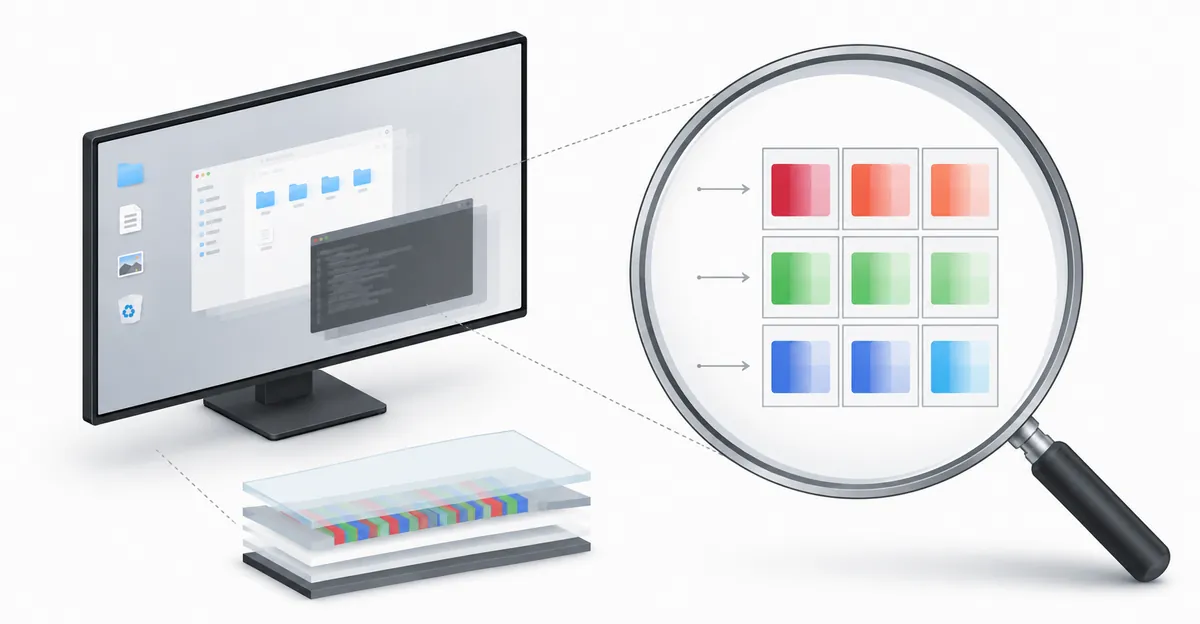
Monitor Ghosting and the Pixel Response Problem
Motion ghosting happens because liquid-crystal pixels cannot change color instantly. Each sub-pixel is a tiny light shutter that has to twist from one orientation to another when the voltage changes, and that physical transition takes time. When the transition runs longer than the frame window at your current refresh rate, residual color from the previous frame bleeds into the next one, and you see a faint, blurred trail behind moving objects. That is what most people mean when they say a shadow follows their cursor or their enemy in a game.
The transition time is measured as GtG, or gray-to-gray response, and the number on the box (often 1 ms) is the best-case value. Real-world GtG is usually higher, especially for darker transitions, which is why a dark UI on a light background is the worst case for many panels.
Panel technology matters a lot here. OLED panels respond in roughly 0.03 ms and effectively eliminate ghosting, but they carry a real burn-in risk for static UI. Fast IPS and modern TN panels sit in the middle. VA panels are the slowest of the three common LCD types and draw the most complaints in dark rooms and dark-mode workflows, even when the spec sheet looks strong.
| Panel Type | Typical Real-World GtG | Ghosting Tendency | Best Use Case |
|---|---|---|---|
| OLED | ~0.03 ms | Negligible | HDR content, dark rooms (accept burn-in risk) |
| Fast IPS | 1–4 ms | Low | Gaming, color work, general use |
| TN | 1–5 ms | Low to moderate | Competitive FPS, budget gaming |
| VA | 4–12 ms (asymmetric) | High in dark transitions | Movies, contrast-heavy content; dark UI users will see black smear |
Source: synthesized from Blur Busters, techyatlas, and My Second Monitor.
The 144 Hz and 240 Hz panels you see marketed as "1 ms" only have that headroom because the frame window itself is shorter. At 60 Hz, each frame lasts 16.7 ms; at 144 Hz, that drops to 6.9 ms. A panel that was borderline at 60 Hz looks noticeably cleaner at 144 Hz simply because the response has less time to fall behind.
Overdrive, Response Time, and the Inverse Ghosting Trade-Off
Because real-world pixel response is rarely fast enough, every modern monitor ships with a circuit called overdrive. Overdrive applies a higher voltage to push pixels harder than they would naturally switch, which shrinks the transition time and reduces the dark trail behind moving objects. The catch is that too much overdrive overshoots the target color: a pixel overshoots, ripples back, and creates a bright halo or colored fringe on the leading edge of motion. That bright halo is called inverse ghosting, or a corona, and Blur Busters has documented it photographically with a pursuit camera, the same method display manufacturers use.
Manufacturers hide the setting under different names. ASUS calls it Trace Free, BENQ calls it AMA (Advanced Motion Acceleration), Acer calls it Overdrive, and many consumer brands call it Response Time. The label is irrelevant; the trade-off is the same.
The correct way to find your monitor's sweet spot is the testufo.com ghosting test. Open it at your monitor's native refresh rate, then cycle through the overdrive levels one at a time, watching the UFO after each change. The right setting is the highest level that still produces clean trails with no bright halo leading or following the UFO. For most IPS panels this lands on Medium or Normal. ASUS's own VG278H, measured by Blur Busters at 120 Hz, hit the balance at Trace Free 60: zero ghosting, faint corona, but no visible smear.
| Overdrive Level | Visual Result | When to Use |
|---|---|---|
| Off | Heavy dark trails behind all motion | Avoid for desktop or gaming use |
| Low | Reduced dark trails, still visible | Best for color-accurate work |
| Medium (Normal) | Clean trails, no leading halo | Sweet spot for most IPS panels |
| High | Faint leading halo on high-contrast edges | Acceptable for fast-paced gaming only |
| Extreme / Ultra | Visible bright coronas, edge ringing | Avoid — looks worse than the original ghosting |
Source: Blur Busters Trace Free measurements and Aurum Screen calibration guide.
If the only clean image appears at the most aggressive level, the panel itself is poorly tuned for motion, and that is a deal-breaker for fast shooters, dark-mode workflows, or any fast scrolling.
Signal Path, Cables, and the Static Shadow
A static shadow that stays at a fixed offset while the desktop moves is almost always a signal-integrity problem, and the cheapest test you can run is also the most likely fix. ViewSonic's own support documentation identifies low-quality VGA cables as the most common cause of shadowing and double images and recommends a Premium Certified HDMI cable or VESA-certified DisplayPort cable for any run longer than three meters, roughly ten feet.
The signal path is more than just the cable. Every docking station, video splitter, KVM switch, USB-C hub, and passive adapter in the chain is another opportunity to re-time or re-drive the video signal, and cheap ones do it badly. The diagnostic move is to remove all of them and connect the monitor straight to the graphics card with one short, certified cable. If the shadow disappears, you have found the fault, and you know what the fix costs.
| Cable Type | Max Practical Bandwidth | Best For | Static Shadow Risk |
|---|---|---|---|
| VGA (analog) | 1080p @ 60 Hz with good cable | Legacy hardware only | High — signal degradation is the most common shadowing cause |
| HDMI 1.4 | 1080p @ 120 Hz / 4K @ 30 Hz | Older 1080p monitors | Moderate if cable is poor quality |
| HDMI 2.0 | 4K @ 60 Hz | Mid-range 4K displays | Low with certified cable |
| HDMI 2.1 (Ultra High Speed) | 4K @ 120 Hz / 8K @ 60 Hz | Modern 144 Hz+ 4K monitors | Lowest — certified cables guarantee bandwidth |
| DisplayPort 1.4 | 4K @ 120 Hz / 8K @ 60 Hz | High-refresh PC monitors | Low with VESA-certified cable |
| DisplayPort 2.1 | 16K @ 60 Hz with DSC | Future-proof / 8K | Lowest for desktop use |
Source: ViewSonic cable guidance and BN Trick 2026 Guide.
Two more signal-chain clues help. A bad cable usually produces sparkles, dropouts, or signal errors before it produces classic shadowing, so if you are seeing only one machine misbehave the source chain is the first place to look. And wiggling the cable near each connector, or flexing the bezel near the back of the monitor, can change the artifact or make it disappear, which is a strong signal that the cable, the port, or the internal ribbon cable is the fault.
Native Refresh Rate, Adaptive Sync, and Frame Timing
Refresh rate sets the budget for everything else. The monitor redraws the image N times per second, and every transition the GPU asks for has to complete inside one frame window. At 60 Hz that window is 16.7 ms; at 144 Hz it is 6.9 ms; at 240 Hz it drops to roughly 4.2 ms. A panel that is too slow for 60 Hz will fall further behind at 144 Hz if its real-world GtG response cannot fit inside the tighter window, which is why moving from 60 Hz to a poorly-tuned 144 Hz panel can actually make ghosting worse.
The first configuration step is to make sure Windows is actually running at the monitor's native refresh rate. Settings, then System, then Display, then Advanced display, and pick the highest value the panel supports. Many monitors run at 60 Hz by default even when they support 144 Hz or higher, and a refresh rate that has been reset to 60 after sleep, a driver reinstall, or a firmware update creates fake "panel problems" that disappear once the signal is restored.
Adaptive sync (G-Sync on NVIDIA, FreeSync on AMD, VESA Adaptive-Sync in general) matches the monitor's refresh window to the GPU's frame delivery and removes tearing, stutter, and judder-related shadowing. The conflict to know about is that most monitors cannot run MPRT or backlight strobing (ULMB, LightBoost) at the same time as G-Sync or FreeSync. Enabling both produces strobing artifacts and can make ghosting worse. The right diagnostic move is to disable all motion features, re-run the UFO test, then re-enable them one at a time to identify the conflict.
If your maximum refresh rate is not showing up in the Windows list, the bottleneck is almost always the cable or the port, not the monitor. A 144 Hz 4K signal needs HDMI 2.1 or DisplayPort 1.4 with a certified cable; anything weaker will cap the available refresh rate or drop chroma, and that cap is a common hidden source of shadowing complaints.
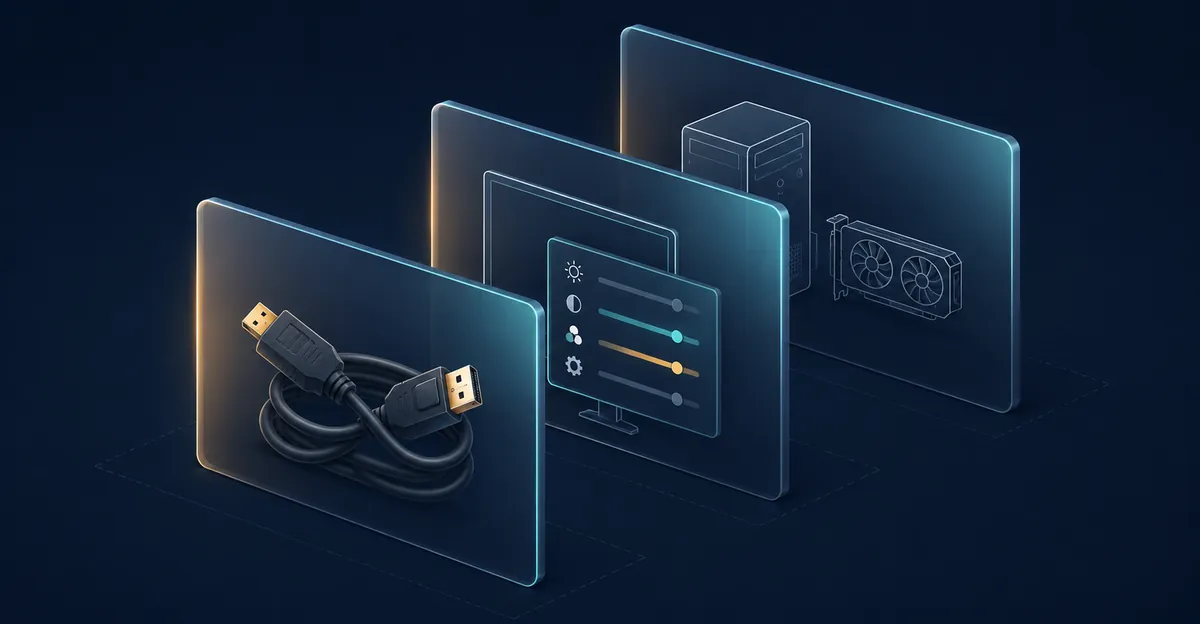
Step-by-Step Diagnosis: From Cheapest to Most Expensive
The right diagnostic order saves you time and money. Work from the free software fixes to the hardware replacement, stopping as soon as the shadow disappears.
Step 1: Run the UFO ghosting test. Open testufo.com/ghosting at your monitor's native refresh rate and watch the UFO. Trailing dark shadows = ghosting; leading bright halos = too much overdrive. This confirms which problem you have before you touch any settings.
Step 2: Confirm native refresh rate. Open Windows Settings > System > Display > Advanced display and confirm the monitor is at its highest listed refresh rate. If only 60 Hz appears, check the cable and port next.
Step 3: Bypass the signal chain. Unplug every dock, KVM, splitter, and adapter. Connect the monitor with one short, certified cable directly to the GPU. If the shadow disappears, the chain was the problem.
Step 4: Reseat or replace the cable. Firmly reconnect both ends, or swap in a known-good HDMI or DisplayPort cable. Wiggle near each connector: flickering or a changing artifact confirms a loose connection.
Step 5: Find the overdrive sweet spot. Open the OSD menu, find the Response Time / Trace Free / AMA setting, and cycle from Off to the highest level, one step at a time. Pick the highest level with no leading halo.
Step 6: Update or reinstall graphics drivers. NVIDIA's documentation names updated drivers as a primary troubleshooting step for display artifacts. A clean reinstall after driver corruption can eliminate fake "panel problems."
Step 7: Run the OSD isolation test. Press the monitor's physical button to open the OSD menu with no signal attached. If the menu itself shows the trail or smear, the panel is faulty. If the menu is clean, the signal chain is the culprit.
Step 8: Test with another device. Connect the monitor to a different PC, laptop, or console. If the shadow persists, the monitor is the source. If it clears, the original machine's GPU, port, or settings are the fault.
Step 9: Factory reset the monitor. Use the OSD Memory Recall or All Reset function to rule out a settings error. This is the step people skip when they have been adjusting brightness, contrast, and sharpness for weeks.
Step 10: Open the monitor. If the OSD test rules the panel internal and the artifact is a fixed band rather than a motion smear, the T-Con board or the LVDS ribbon cable may have worked loose from heat cycling. Re-seating the ribbon cable and cleaning the gold contacts with 90% IPA resolves the majority of these cases.
Preventing Monitor Shadow: Settings, Habits, and Hardware Choices
Once the shadow is gone, a few habits keep it from coming back.
Avoid static images for extended periods. The pixel-level charge that causes image persistence builds up when a taskbar, game HUD, or channel logo sits on screen for hours. Most modern operating systems have a built-in pixel refresher: Windows Screen Timeout in Power Settings, and macOS in Energy Saver. Setting the display to sleep after 10–15 minutes of inactivity is the most effective habit.
Keep cables short and certified. Every extra meter of cable run is another opportunity for signal degradation. Keep the run under three meters, use Premium Certified HDMI or VESA-certified DisplayPort, and route video cables away from power cables to avoid electromagnetic interference.
Dust and ventilation matter. Dust buildup on internal components and poor airflow can affect the T-Con board's timing accuracy over time. Clean the monitor's ventilation slots periodically and keep the workspace ventilated. Some professionals power monitors from a direct wall outlet rather than a power strip, as UPS units and power strips can introduce electrical noise that affects image quality.
Match your panel to your workflow. If you work in dark-mode UI all day and ghosting bothers you, a VA panel will be a constant source of black smear. A fast IPS or OLED eliminates it at the hardware level. If you game competitively at 240 Hz, OLED or a strobed backlight (ULMB) removes the sample-and-hold blur that overdrive cannot fix.
When the Shadow Means a Failing Panel
The OSD test is the final arbiter. If the artifact is visible over the monitor's own OSD menu, the fault is inside the display panel or its internal circuitry. No cable swap, driver update, or overdrive adjustment will fix it because the problem is not receiving a clean signal; the panel itself is generating the artifact.
Internal ribbon cable. In most monitors, the flat LVDS (or eDP) ribbon cable between the T-Con board and the panel itself is the culprit. Heat cycling over months or years causes the cable to expand and contract, eventually working loose from its socket. Pressing or gently flexing the bezel near where the artifact starts will change its color or make it vanish momentarily. Reseating the cable and cleaning the gold contacts with 90% isopropyl alcohol fixes the majority of these cases at zero cost.
T-Con board failure. The Timing Controller board translates the signal from the main logic board into the pixel data the panel requires. A failing T-Con produces fixed bands of color or persistent duplicate images that are visible on every input and survive a factory reset. Replacement T-Con boards cost $15–50 depending on the model, making this a viable DIY repair for monitors more than two years old.
When to replace versus repair. The practical threshold is roughly 50% of the monitor's current replacement cost. If a new T-Con or ribbon reseat costs more than half what you paid for the monitor, upgrade rather than repair. Permanent burn-in on LCD panels is less common than on OLED but does occur in panels used heavily for surveillance, signage, or trading terminals.
| Observation | Diagnosis | Next Step |
|---|---|---|
| Shadow visible OVER OSD menu | Panel internal (T-Con / ribbon cable) | Reseat ribbon, check T-Con, consider replacement |
| OSD menu clean; shadow on PC image | Signal chain external | Swap cable — bypass dock — test different port — test different device |
| Shadow only during motion | Ghosting (pixel response) | Adjust overdrive sweet spot — check refresh rate — upgrade panel if needed |
| Faint copy of static image (hours old) | Image persistence | Let it clear — enable screen timeout — use pixel refresher |
Source: ViewSonic OSD isolation test, My Second Monitor, techyatlas.
Conclusion
Most shadows on a computer monitor can be fixed without replacing the panel. Run the OSD test first to separate internal panel faults from external signal problems, then work from cheapest to most expensive: certified cable, direct GPU connection, native refresh rate, overdrive sweet spot, updated drivers. Only when the OSD itself shows the artifact should you open the monitor or plan for a replacement. Run the screen test tool to confirm whether your shadow is signal, panel, or persistence before spending any money.
Related Problems
- Monitor Ghosting — Afterimage trails and slow pixel response
- Monitor Blur — General blurry display issues
- Monitor Lines Problem — Diagnosing and fixing lines on your screen
- Display Issues Guide — General display artifacts and irregularities