An iPhone black screen test fills the display with pure black so glowing defects become obvious: bright spots, stuck subpixels, edge light leaks on LCD models, and some uneven wear patterns. This guide is a hands-on review of running that test with our free Screen Test tool in Safari—what black reveals, what it hides, and how to finish the session with white, gray, and RGB so you do not misdiagnose the panel.
This page is not about an iPhone that will not power on (a “black screen of death”). If the device shows no image at all, chase charging, force restart, and hardware service instead of a browser color field.
iPhone Black Screen Test: How to Check Bright Spots & Burn-In
What an iPhone Black Screen Test Actually Checks
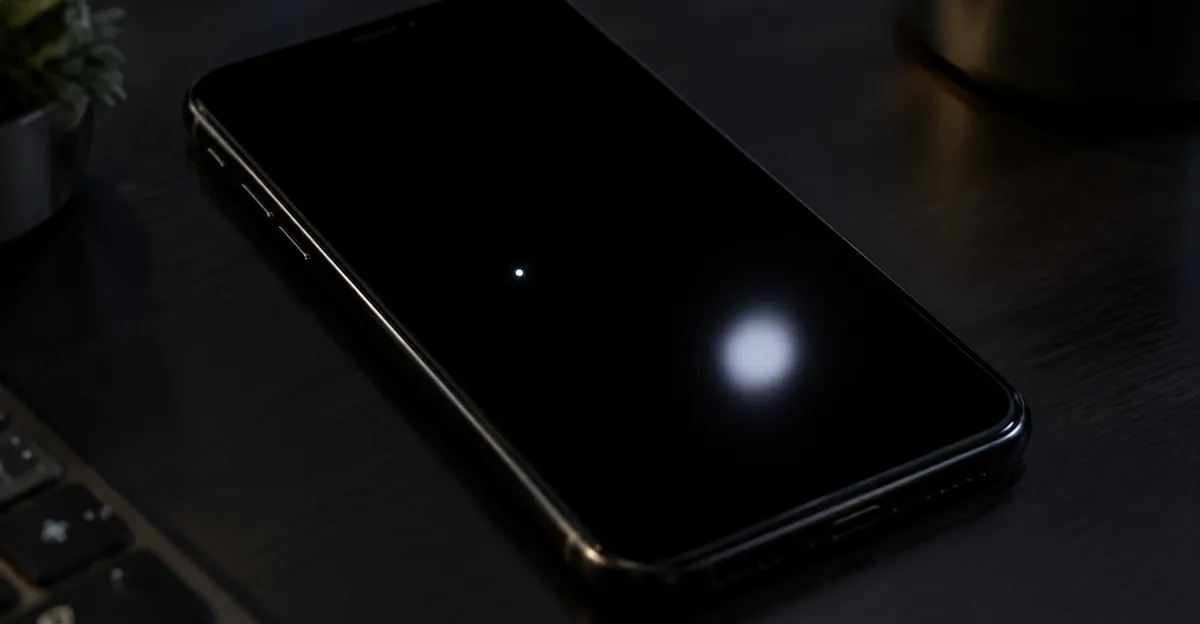
An iPhone black screen test is a controlled diagnostic: you drive every pixel toward “off” (or the darkest drive state the panel can show) and look for anything that still emits light. On OLED models—iPhone X and later Pro lines, and essentially every numbered iPhone from the 12 onward—each pixel is its own light source. Healthy OLED pixels should go fully dark. Anything that stays lit against that field is a candidate stuck subpixel, hot pixel, or localized damage, not “just a wallpaper artifact.”
On remaining LCD iPhones (for example XR, 11 non-Pro, and SE generations), black cannot extinguish the backlight. The liquid-crystal layer only tries to block light. Edge glow and corner bloom on a black field are often backlight bleed or diffuser-stack issues—patterns that do not exist the same way on OLED. Knowing your panel type changes how you score the result.
| What you see on pure black | Likely meaning | Next check |
|---|---|---|
| Sharp colored or white pin-dot | Stuck / hot subpixel | Confirm on white + RGB; see dead pixel vs stuck |
| Soft bright blotch, fixed location | Pressure / film damage or internal debris | Photo + white/gray; see phone bright spot |
| Glow along edges or corners (LCD) | Backlight bleed | Dim room, lower brightness; mild edge glow can be cosmetic |
| Faint UI ghost (keyboard, status bar) | Retention or burn-in | Mid-gray hold; wait and retest |
| Nothing unusual | Black path looks healthy | Still run white for dead pixels |
Black is the right first field when your search intent is “something glows on dark UIs.” Dark-mode apps, OLED always-on clocks, and night photography make bright defects more annoying than dead pixels. Repair-shop and niche display guides converge on the same trio of flat fields: black for emitters that stay on, white for emitters that stay off, mid-gray for uneven OLED wear. No single color finishes the job.
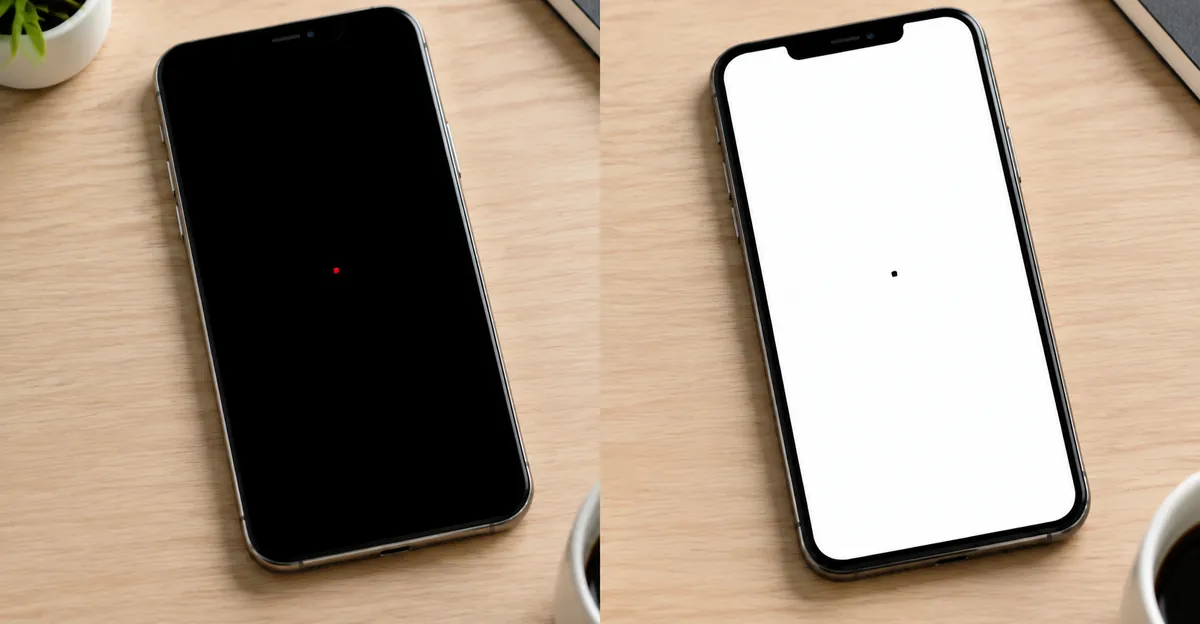
Case sketch — “star on night mode”: A user notices a red pinprick while shooting in a dark room. Wallpaper never showed it. On our Screen Test black field the pinprick stays; on white it is almost invisible. RGB confirms a stuck red subpixel. That sequence is textbook black-first diagnosis—not a software overlay.
Differentiate from related problems: a soft dark bruise after a pocket squeeze belongs in black spot screen and pressure damage workflows. A bright patch family is covered in LCD bright spots and phone-specific bright-spot guides. The black screen test is the measurement step that tells you which of those paths to open.
How to Run It With Our Screen Test Tool
We built Screen Test as a browser lab: Solid Colors (white, black, red, green, blue, gray), gradients, patterns, and a motion tab. For an iPhone black screen test you only need Solid Colors → Black, then Fullscreen. No App Store install, no account, and the same URL works for a used-phone buying check in a café.
Prep (two minutes)
- Remove a thick or dirty screen protector temporarily if grit might be trapped under it.
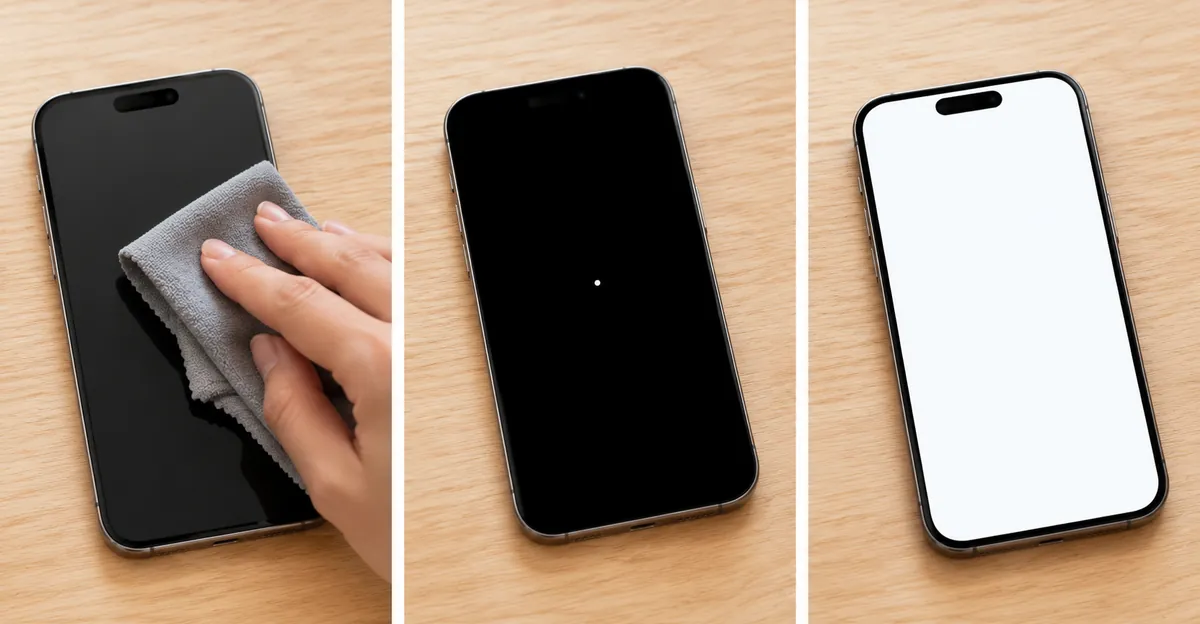
- Wipe the glass with a dry microfiber cloth—dust looks like pixels until it moves.
- Settings → Display & Brightness: turn True Tone and Night Shift off for the session.
- Raise brightness to a practical high level (near maximum for bright-spot hunting; you can drop later for bleed).
- Dim the room lights so faint edge glow and pin-dots are visible.
- Optional: enable AssistiveTouch so you can exit without hunting for invisible controls.
Tool walkthrough (Safari)
- Open Safari and go to
/en/screen-teston screenissues.com. - Stay on the Solid Colors tab.
- Select Black (hex
#000000). The preview should be pure black, not dark gray wallpaper. - Tap Fullscreen. On iOS, allow the browser to expand; rotate to landscape if the toolbar still eats too much of the panel.
- Hold black for 10–20 seconds minimum. Scan slowly: corners, Dynamic Island / notch region, keyboard zone, and gesture bar area—static UI wears those zones hardest on OLED.
- Tap to show controls if they auto-hide, then either advance manually or use Start Auto-Cycle to move through white and RGB without leaving fullscreen.
- Exit fullscreen when done (ESC where available, or the on-screen exit control).
Hands-on review scores (our tool vs common alternatives)
| Criterion (1–5) | Screen Test (browser) | Saved solid black photo | App Store pixel apps |
|---|---|---|---|
| Setup speed | 5 — open URL | 4 — find/save image | 2–3 — install + permissions |
| Pure #000 field | 5 — controlled hex | 4 — depends on JPEG/PNG | 5 — usually solid |
| Multi-color follow-up | 5 — white/RGB/gray in one UI | 2 — need more files | 5 — often bundled |
| iOS chrome interference | 3 — Safari bars vary | 4 — Photos can hide UI | 4–5 — native fullscreen |
| Privacy / no install | 5 | 5 | 2–4 |
| Motion / pattern extras | 5 | 1 | Varies |
Verdict: For most readers, Screen Test wins on speed and session completeness. The weak point is iOS browser chrome—Photos fullscreen can hide UI better for a single color, but fails the “black then white then RGB without leaving the flow” requirement that actually prevents misdiagnosis. Native apps win immersion; they lose when you are checking a phone in a store and refuse to install anything.
iOS Safari notes from repeated runs: Fullscreen may leave a home indicator or thin status strip. Judge defects away from that strip first. If Fullscreen fails, add the page to the Home Screen (Share → Add to Home Screen) for a cleaner standalone window, or use landscape and hide the toolbar by a slight scroll before entering the test again. Low Power Mode and aggressive Auto-Lock can dim mid-test—plug in or set Auto-Lock to Never for five minutes while you inspect.
When black looks clean, do not stop. Dead pixels hide on black; burn-in hides better on gray than on pure black. The next two sections explain how to read what you saw and what to run next.
Black Screen Test iPhone: How to Read What You See
A black screen test iphone session is only useful if you classify defects instead of panic-scrolling forums. Use this reading protocol every time.
Step A — Is it on the glass or in the panel?
Gently wipe again. If the “pixel” moves or vanishes, it was debris. If a protector is on, remove it and retest—trapped grit under film is a classic false positive.
Step B — Screenshot / second-device photo test
While black is fullscreen, take a screenshot. Open that screenshot on another device or Mac. If the glowing speck appears inside the screenshot file, investigate overlays, accessibility filters, or rare rendering bugs. If the speck is visible on the physical panel but absent from the screenshot, the defect is on the display hardware—the usual outcome for stuck subpixels and pressure marks.
Photograph the phone with a second camera as well (slightly angled). Screenshots miss panel-only faults; a second camera documents them for warranty tickets.
Step C — Shape and edge quality
| Appearance on black | Working diagnosis | Action |
|---|---|---|
| 1-pixel sharp colored/white dot | Stuck / hot subpixel | Document; RGB confirm; warranty if clustered |
| Soft oval brighter than neighbors | Pressure / diffuser (LCD) or local OLED damage | Stop pressing; see bright-spot / pressure guides |
| Band or glow at bezel | Bleed (LCD) or light leakage path | Compare at 30–50% brightness in dark room |
| Ghost of keyboard / status icons | Retention vs burn-in | Mid-gray + time test (below) |
| Growing ink-like bright or dark island | Spreading panel damage | Stop DIY force; plan replacement |
Step D — Retention vs burn-in (do not skip)
OLED guides and repair counters agree: a ghost that looks like burn-in may still be temporary image persistence. Use the phone with mixed content for several minutes (some shops wait 10–30 minutes locked), then reopen mid-gray or black. If the ghost is gone, it was persistence—annoying, not a replace-now event. If the same keyboard or status-bar silhouette remains after hours and stays fixed on gray, treat it as burn-in. Pixel-flashing “fixer” videos do not reverse uneven OLED wear and can add heat and brightness stress.
Step E — Score the session
Record four lines in Notes: date, iOS version, True Tone/Night Shift off (yes/no), and a one-line defect description with approximate location (for example “upper-left, ~2 mm from Dynamic Island, red pin on black”). That note is more valuable at an Apple Store desk than a vague “screen looks weird.”
If you confirmed a bright defect family, deepen with phone bright spot and LCD bright spots. If the mark is dark on white instead, switch to black spot screen and dead pixel.
Black Alone Is Not Enough: White and RGB Follow-Ups
Black answers “what still lights up?” It does not answer “what stays dark forever?” A dead pixel is invisible on black because black is already dark. Skipping white is the most common mistake after people search for an iPhone black screen test and stop at the first solid color.
Recommended order inside Screen Test
- Black — stuck/hot pixels, bleed, some bright pressure marks.
- White — dead pixels, dirt contrast, heavy burn-in as dimmer patches.
- Red / Green / Blue — which subpixel channel is stuck or weak.
- Gray — OLED uniformity and burn-in ghosts (status bar, keyboard, gesture region).
- Optional: gradients and patterns if you suspect banding or line defects.
Hold each field at least ten seconds. Auto-Cycle exists so you do not tap out of fullscreen between colors—use it after you have already inspected black carefully once.
| Defect | Best field | Worst field (hides it) |
|---|---|---|
| Dead pixel | White | Black |
| Stuck red/green/blue subpixel | Opposite of its color; also black | Matching full-field color |
| Hot / bright spot | Black | White |
| LCD backlight bleed | Black (dark room) | Busy wallpaper |
| OLED burn-in | Mid-gray | Busy colorful content |
| Pressure dark bruise | White | Black (may look milder) |
Case sketch — buying used: Seller demos only a black wallpaper. Buyer runs Screen Test: black looks perfect; white shows three dead pixels in a cluster near the corner. Without the white follow-up, the black screen test would have green-lit a bad panel. Always finish the set.
Patterns (grid, checkerboard) and motion in the same tool help when lines or ghosting appear—but for pixel and burn-in triage, solid colors remain the primary evidence. Link out to line-specific guides only after solids confirm the geometry.
False Positives Unique to iPhone
iPhone software and industrial design create defects that look hardware-related until you neutralize them.
True Tone continuously shifts white balance from ambient sensors. A “warm corner” on an imperfect black or gray field can be adaptive tint, not panel failure. Disable it for the test window.
Night Shift / scheduled color temperature overlays warmth. Blue looks muted; blacks can feel lifted. Turn it off (and cancel any Focus that re-enables display filters).
Auto-Brightness can dim mid-inspection when you cup the phone. Prefer manual brightness while testing.
Dynamic Island / notch and status region always host static UI. Wear concentrates there. When judging burn-in, compare the Island silhouette on gray against the center of the panel so you do not call normal camera-housing geometry a defect.
Low Power Mode, Always On Display habits, and navigation bar static chrome increase retention risk but are not themselves “broken pixels.” Retest after mixed use before declaring burn-in.
Screen protectors and cases trap dust, create Newton rings, or press the glass. Remove both for the definitive pass.
AssistiveTouch / Zoom / Display Zoom / Reduce White Point can add overlays or scale content so fullscreen color is not edge-to-edge. Disable unfamiliar accessibility display toggles for the session.
Third-party keyboards and screen-dimming apps occasionally leave filters. If a screenshot shows the “defect,” hunt software first.
None of these false positives means black testing is useless—they mean a clean prep checklist is part of the method. Our Screen Test cannot disable system filters for you; that step stays in Settings.
Repair, Warranty, and Cost Reality After a Failed Test
Once hardware is confirmed (panel-only defect, screenshot-negative, settings ruled out), decide whether you need service.
Document before you book. Photos of black, white, and gray fields plus your Notes line save repeat appointments. Apple’s public pixel-anomaly language historically framed LCD products around an “acceptable number” of anomalies without publishing a universal consumer threshold—expect an in-store assessment rather than a DIY pass/fail count.
Warranty vs accidental damage. A manufacturing stuck/dead pixel cluster inside the limited warranty is a different conversation from a bright blotch that appeared the day you sat on the phone. Pressure and impact stories usually land in paid repair or AppleCare+ incident fees. Burn-in sits in a gray zone: some assessments treat severe permanent ghosts as hardware degradation; policies and outcomes vary—check coverage and ask explicitly.
Repair reality: Individual pixels are not field-replaceable. Service is a display assembly swap. Out-of-warranty screen prices move by model; AppleCare+ reduces accidental-damage fees substantially relative to full list pricing. Third-party OLED replacements can be cheaper but may lose True Tone calibration, peak brightness, or water resistance—factor that into the quote, not only the sticker price.
When to live with it: A single peripheral stuck subpixel that does not grow, with no burn-in, is often livable. Re-run Screen Test monthly; photograph if it changes.
When to replace sooner: Spreading marks, touch dead zones near the glow, lines radiating from a spot, heat or battery swelling, or defects that appeared right after a cheap prior screen swap (return to that shop).
Pixel-fixer apps and massage/heat folklore do not belong on modern OLED iPhones. Stuck LCD subpixels elsewhere sometimes respond to color cycling; OLED emitters and crushed stacks do not “massage” back. Rubbing a pressure bright spot can enlarge it—see pressure damage screen.
Quick Comparison: Browser Screen Test vs Built-in Settings
iOS has no public dialer code equivalent to some Android manufacturer panel tests. Your practical toolkit is Settings (for filters), Safari (for controlled fields), Photos (for saved solids), and optionally a native app.
| Need | Best tool | Why |
|---|---|---|
| Fast black + white + RGB in one flow | Screen Test | One URL, auto-cycle, hex-accurate solids |
| Absolute minimum chrome for one color | Photos fullscreen solid | Hides more UI; weak multi-color workflow |
| Disable adaptive tint | Settings → Display | True Tone / Night Shift off |
| Offline airplane-mode store check | Pre-saved images or offline-capable app | No network dependency |
| Motion / ghosting curiosity | Screen Test Motion tab | Beyond black/white scope |
| Warranty documentation | Second-phone photos of solids | Captures panel-only faults screenshots miss |
Bottom line of this review: Use Settings to neutralize false positives, use Screen Test black as the primary bright-spot probe, then finish white → RGB → gray in the same tool before you trust any forum diagnosis. That sequence is faster than installing an app for a one-time check and more complete than a single saved black wallpaper.
When you are done reading, open the Screen Test tool, run black for twenty seconds in a dim room, then let Auto-Cycle carry you through white and color. If something glows on black, you already know which follow-up field and which guide—dead pixel, bright spot, black spot, or pressure damage—to open next.
Related reading
- Screen Test Tool — Free fullscreen color and pattern lab
- Dead Pixel — Confirm dark defects on white/RGB
- Black Spot Screen — Dark blotches by device
- Phone Bright Spot — Glowing marks on phones
- Pressure Damage Screen — After a squeeze or sit-on event
- LCD Bright Spots — Bright defect family on LCD stacks