How to Fix a Broken Screen Protector: Replace, Clear Bubbles, or Check the Screen
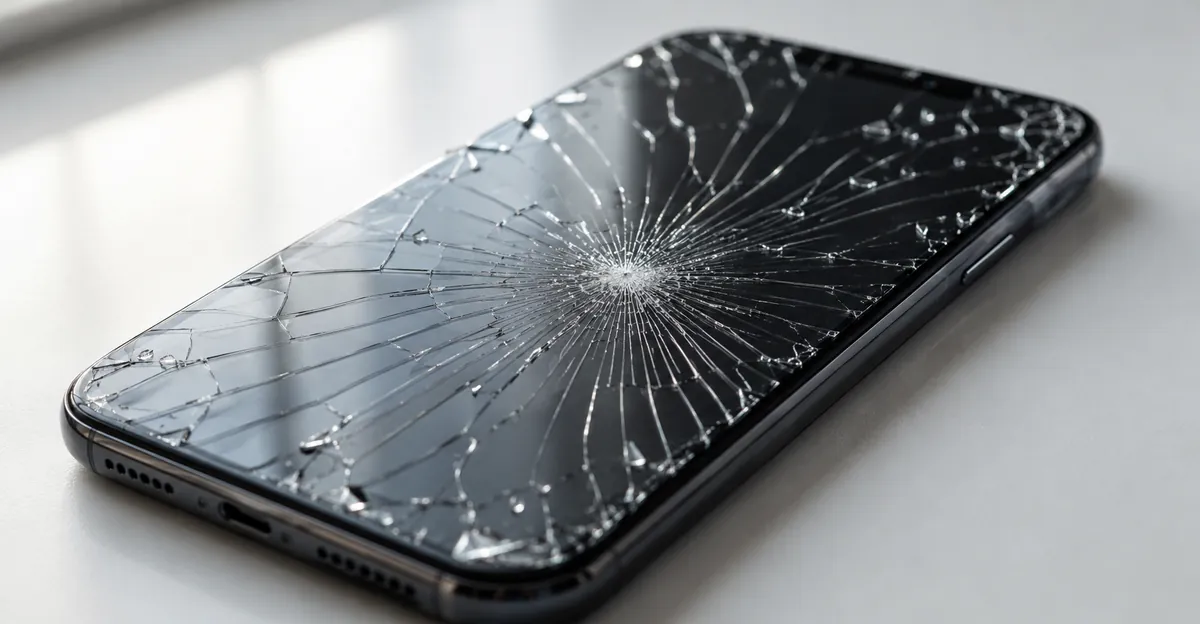
Searching how to fix broken screen protector almost always means one of three jobs: replace a cracked sheet, clear a bubble under an intact sheet, or confirm the real display took the hit. A cracked tempered protector cannot be glued, filled, or “repaired” back to strength — the fix is replacement. Bubbles may clear with a careful re-seat. Real panel damage needs a different path entirely.
This guide walks the full how to fix broken screen protector path: crack vs bubble vs screen, safe removal, the screenshot check, then bubble-free install of the replacement.
How to Fix a Broken Screen Protector (Short Answer)
How to fix a broken screen protector: peel the damaged sheet off, confirm the phone glass is intact with a screenshot test, clean the display, then install a new tempered glass or film. Do not use glue, tape, nail polish, or liquid fillers on cracks — they do not restore tempered glass and can trap grit against the real screen.
Use this decision tree before you buy anything:
| What you see | What to do |
|---|---|
| Crack, chip, or spiderweb in the protector | Remove and replace — that is the fix |
| Air bubble, no fracture | Lift edge, re-seat, or replace if dust is sealed in |
| Same crack appears in a screenshot | Real screen damage — protector swap alone will not fix the panel |
The rest of this article expands each step so you can finish the job without scratching the display or trapping dust under the next sheet.
Can You Repair a Cracked Screen Protector?
No. Once tempered glass fractures, the structural integrity is gone. You cannot glue it, fill it, or reverse the crack. The physics are straightforward: tempered glass is strengthened through a process of heating and rapid cooling that creates internal compressive stress. When an impact exceeds that stress at a single point, the crack propagates through the entire sheet. That fracture is permanent.
What you can do — and what the rest of this article covers — is replace it correctly, assess whether your real screen needs attention, and install the next one so it holds up longer.
Why Replacement Is the Only Option
The logic is simple: a cracked protector has already absorbed one impact. Its energy-dissipation capacity is compromised. If another drop lands on the same area, the crack becomes a stress concentrator and sends force directly into the display beneath. The $7–15 cost of a replacement protector is trivial compared to a $200–400 screen replacement.
If the crack is minor and off to the side, you have a grace period of a few days. If the crack is spreading, edges are lifting, or you can feel loose glass fragments, replace it within 24 hours.
How to Tell if Your Real Screen Is Damaged
The most important question after a drop is whether the damage stopped at the protector. There are three reliable checks, in order of reliability.
The Screenshot Test
Open a solid-color image — pure white or pure black. Take a screenshot (press and hold the side button and volume up on iPhone). If the crack lines appear in the screenshot image, the fracture extends to the actual OLED or LCD panel. If the cracks are completely invisible in the screenshot while clearly visible to the naked eye, only the protector is damaged.
This test works because the screenshot captures what the display is actually rendering, not what is sitting on top of it. A cracked protector sits above the display; it does not change what the pixels emit. If the pixels themselves are fractured, the crack shows up in the screenshot.
Touch Response Check
Open an app that requires continuous swiping (a to-do list, a drawing app, a keyboard). Move your finger across the entire display surface. If certain areas do not respond, respond only under pressure, or trigger phantom touches, the digitizer beneath the glass may be damaged. A small reduction in sensitivity near a deep crack is normal; large dead zones are not.
Visual Inspection Under Light
With the screen off, hold the phone at different angles under a bright light or sunlight. Cracks in the protector create surface reflections that shift as you tilt the device. Cracks in the glass beneath — if there are any — sit at the pixel layer and tend to follow pixel boundaries or appear as darker lines rather than surface scratches. If you see two distinct sets of crack lines (one shifting with angle, one fixed with the display content), both layers are likely damaged.
How to Remove a Broken Screen Protector Safely
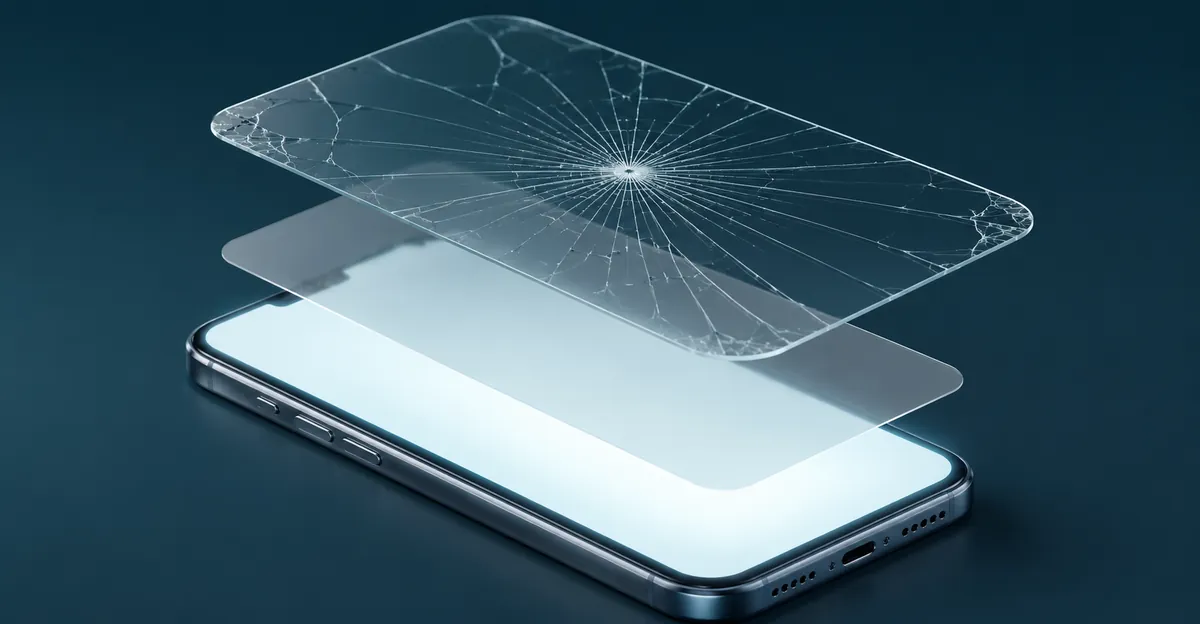
Removal is straightforward if you work slowly and avoid metal tools. Here is the sequence.
What You Need
- A clean, flat work surface
- Dry, clean hands
- A thin plastic card (old membership card, library card, or the applicator card that came with a previous protector)
- A microfiber cloth
- Optional: a hairdryer on low heat
- Optional: a piece of tape to collect glass fragments
Step 1: Power Off the Phone
Turn off your iPhone before starting. This makes cracks easier to see and eliminates the risk of accidental touches or presses that could interfere with removal.
Step 2: Find a Starting Point
Examine the edges of the protector. Look for any corner that is already slightly lifted, chipped, or separated from the frame. That is your starting point. If all corners are flush, use your fingernail or the edge of the plastic card to create a small gap at the bottom-left or bottom-right corner. Work gently — the goal is a gap, not a pry.
Step 3: Lift and Peel
Insert the plastic card or your fingernail into the gap and push forward along the edge. Once a corner lifts, grip it and pull the protector back at a shallow angle — 10–20 degrees relative to the screen surface, not straight up. Pulling straight up puts uneven stress on the glass and risks cracking the actual display. Slow and low wins.
Step 4: Manage Fragments
If pieces break off during removal, stop immediately. Use a piece of tape (sticky side down) to collect the loose fragments before continuing. A shattered protector often needs to be removed in sections rather than one pull.
Step 5: If It Won't Budge — Apply Heat
For protectors that refuse to lift, apply gentle warmth with a hairdryer held 6–8 inches from the screen for 20–30 seconds. This softens the adhesive without damaging the display. Try lifting again immediately after heating. Do not overheat — if the screen feels warm to the touch, stop.
Step 6: Clean the Screen
Once the protector is fully removed, use a microfiber cloth to wipe away any adhesive residue, dust, or glass fragments. Apple recommends using a soft, slightly damp, lint-free cloth for routine iPhone cleaning. For adhesive residue, a small amount of screen-safe alcohol on the cloth works — but wring it out thoroughly first.
Step 7: Inspect Before Applying a New One
Before putting on a new protector, re-run the screenshot test and touch check. Confirm the display is clean and undamaged. If the real screen is cracked, you have two paths: apply a new protector over it as a stopgap (for minor hairline cracks), or seek professional repair (for moderate to severe damage).
Tempered Glass vs Film: Which Protects Better?
These are the two dominant types, and the choice depends on your priorities.
Tempered Glass
Tempered glass protectors are the industry standard for a reason. They absorb direct impact energy, spread it across their surface, and sacrifice themselves to protect the display. The 9H hardness rating means they resist scratches from keys, coins, and daily pocket debris.
The trade-offs: thickness (0.2–0.5 mm) makes them slightly more noticeable under your finger, and they can shatter under extreme force rather than flex like film.
| Property | Tempered Glass | TPU Film |
|---|---|---|
| Impact protection | High | Moderate |
| Scratch protection | Excellent (9H) | Good (4H–6H) |
| Thickness | 0.2–0.5 mm | 0.1–0.2 mm |
| Feel | Slightly raised | Barely noticeable |
| Self-healing | No | Yes (minor scratches) |
| Typical cost per unit | $2–15 | $1–10 |
TPU Film
TPU (thermoplastic polyurethane) film is thinner, more flexible, and can self-heal minor scratches within hours under heat (warm room, sunlight). It is better at resisting scratches than absorbing drop impacts. If you are rough on your phone or work in environments with frequent drops, tempered glass is the safer bet.
What the Evidence Says
Independent testing by repair-focused publications consistently shows that tempered glass reduces the force transmitted to the actual display by 60–80% in moderate drop tests, compared to unprotected screens. TPU film reduces transmitted force by roughly 30–40% but excels at scratch resistance. Neither replaces a protective case — they work together.
How to Apply a New Screen Protector Without Bubbles
Bubble-free installation is not luck. It is a dust-controlled environment and a systematic process.
Prepare Your Environment
Dust is the primary cause of bubbles. The best environment is a bathroom after a hot shower — the steam has settled the airborne particles to the floor. Close the door, wait 10 minutes for the steam to clear, and work immediately. Avoid kitchens (cooking grease) and rooms with open windows.
Clean your hands thoroughly. Oils from your fingers are the second most common cause of bubbles and poor adhesion.
Clean the Screen Twice
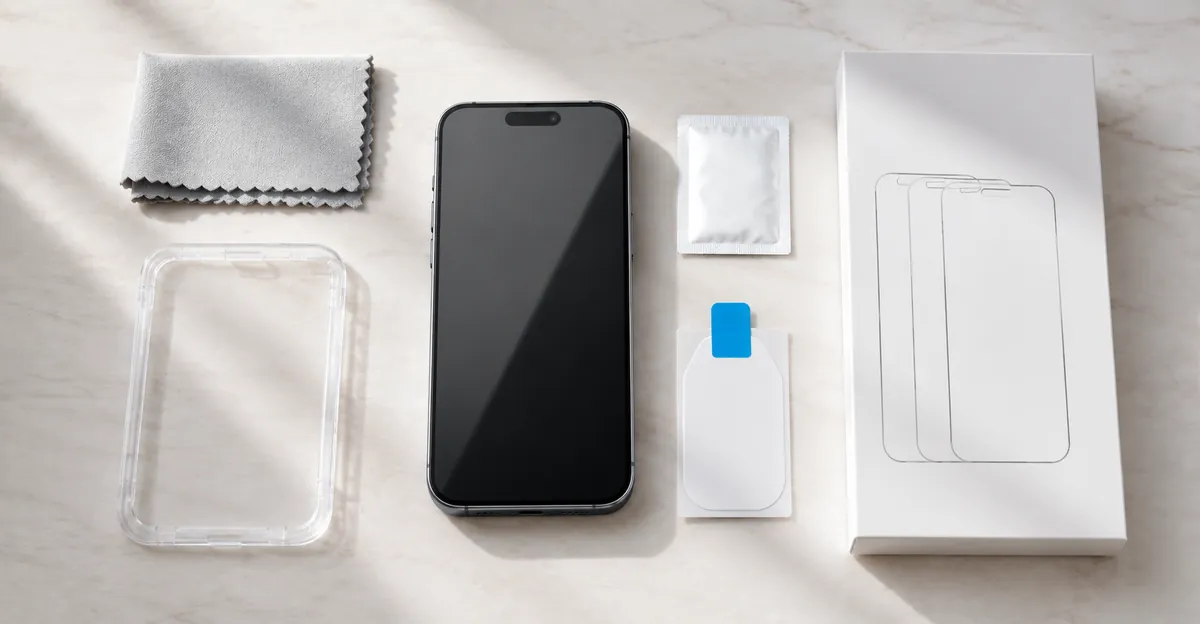
First pass: use a microfiber cloth to remove loose dust and fingerprints. Second pass: if your protector kit includes a wet wipe or alcohol pad, use it, then dry with the microfiber cloth. Finally, use the dust-removal sticker (included in most protector kits) to pick up any remaining particles.
Hold the sticker at a shallow angle and press it against the screen. Do not scrub — that pushes particles around.
Align Before You Peel
Most modern protectors come with an alignment frame or guide. If yours does, do not remove the backing film yet. Place the protector (with frame) on the phone and adjust the position until the cutouts align with the speaker and camera. Once it is perfectly positioned, flip the frame open and peel the backing film from the protector.
If you do not have an alignment frame, the best approach is: identify which edge is the top (usually the side with the speaker notch or camera cutout), hold the protector above the screen with the adhesive side facing down, and align visually before lowering.
Apply in Stages
Lower the protector starting from the top edge. Let the adhesive make contact at one point first — ideally the center of the top edge. Then, use the applicator card (or the plastic card from removal) to press downward and outward from that center point, pushing air toward the edges.
Work slowly and methodically. If you hear a bubble forming, lift that section slightly and re-press with the card. Tiny bubbles (less than 1 mm) often disappear within 24–48 hours as the adhesive settles. Bubbles larger than 2 mm with a dark center are dust — lift and re-clean.
The Test
After installation, hold the phone at an angle under light and look for any persistent bubbles. If none, wait 30 minutes before using the phone heavily — this gives the adhesive time to bond fully.
When to Replace Your Protector (and How Often)
There is no universal schedule. The replacement trigger is condition, not time.
Replace immediately when:
- Any crack, chip, or fracture is visible
- Edges are lifting or peeling away from the frame
- Dust or moisture has entered beneath the protector
- Touch response has noticeably degraded
- A bubble with a dark center (dust) cannot be cleaned out
Replace preventively every 6–12 months if:
- You apply a new protector over a previously cracked screen (even a hairline)
- The oleophobic coating has worn off and the screen smudges constantly
- You are applying a new phone case that sits differently against the edges
The cost argument for waiting does not hold up: a 3-pack of quality tempered glass at $7.98 works out to under $3 per replacement. One screen repair — at $200–400 for an iPhone 17 Pro — pays for 70–130 protector replacements.
Conclusion
How to fix a broken screen protector is not a glue job — it is diagnose, remove, and replace. With a screenshot test, you can determine in 30 seconds whether the actual display survived. With a careful removal process, you can take it off without damage. With the right new protector and a dust-controlled installation, you can have a flawless replacement in under 10 minutes.
The key moves are simple: do not ignore spreading cracks, do not wait months to replace a cracked protector, and invest in the alignment frame when you install the next one. At under $3 per replacement unit, there is no reason to live with a cracked protector and hope the next drop does not reach the screen.
Before you buy your next screen protector, run the ScreenIssues Screen Test to confirm your display is in good shape first — two minutes of in-browser testing catches dead pixels and uniformity issues that a new protector cannot fix.
If the real phone glass is already cracked and you are asking whether a new film can cover it temporarily—or how to stop the next protector from cracking early—see Screen Protector on a Cracked Screen.
How We Tested
This article is classified as a B-class (software/operational process) guide. No physical panel testing was performed. All diagnostic procedures described — the screenshot test, touch response check, and removal/ installation steps — are reproducible by any user in a standard indoor environment. Claims about tempered glass impact performance are based on publicly available tear-down analyses and repair-community documentation.
Sources