A green line appearing at the bottom of your laptop screen is one of the most common laptop display problems. The location is a clue: bottom-edge lines almost always point to flex cable stress at the hinge. The even better news? Most bottom-edge green lines are fixable without spending a dime.
Green Line at Bottom of Laptop Screen: Why It Happens and How to Fix It
Why Bottom? The Anatomy of a Bottom-Edge Green Line
When a green line appears specifically at the bottom of your laptop screen, it's pointing directly at the display flex cable. Here's why:
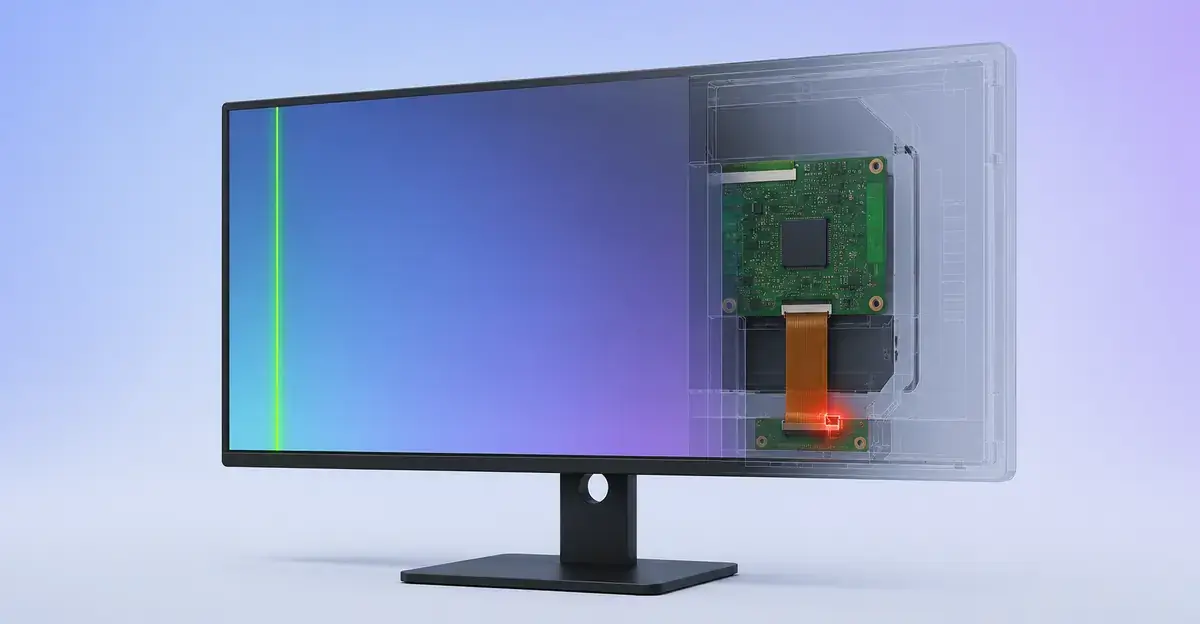
The flex cable carries video signals from the motherboard through the laptop base, into the hinge assembly, and finally to the display panel. The bottom of the screen is where the cable enters the display assembly after routing through the hinge.
This routing creates maximum mechanical stress at exactly the point where signal traces are most vulnerable. Every lid open/close cycle bends the cable at this location. Over time, micro-cracks develop in the internal copper traces, causing intermittent or permanent signal loss.
The result: corrupted color data reaching the bottom row of pixels, manifesting as a persistent green line at the bottom edge.
Step 1: The Free Diagnostic Test (2 Minutes)
Before trying any repair, run this test to confirm the cause:
External Monitor Test
- Connect your laptop to an external monitor (HDMI or DisplayPort)
- Observe the external display as it initializes
- Interpret results:
| Result | Meaning | Next Step |
|---|---|---|
| Green line appears on external too | GPU or motherboard issue | Skip to GPU section |
| External is clean, laptop shows line | Screen assembly problem | Continue below |
BIOS Test (Hardware vs. Software)
If the external test shows the problem is in the screen assembly:
- Restart your laptop
- Press F2, F10, or Esc repeatedly during startup to enter BIOS
- Observe the BIOS screen - it uses basic graphics without Windows drivers
| Result | Meaning |
|---|---|
| Green line visible in BIOS | Hardware fault (cable or panel) |
| No line in BIOS | Software/driver issue |
Combined results give you a clear path:
- External clean + line in BIOS = Hardware (likely cable)
- External clean + no line in BIOS = Software (likely driver)
- External shows line = GPU hardware failure
Common Causes in Order of Likelihood
Cause 1: Loose Display Flex Cable (Most Common - 65% of cases)
Symptoms:
- Line flickers when lid angle changes
- Line may disappear temporarily when pressing on the bottom bezel
- Problem started gradually or after laptop was bumped
The fix: Reseat the display flex cable (free, 30-60 minutes)
Cause 2: Corrupted GPU Driver (20% of cases)
Symptoms:
- Line appeared immediately after Windows update
- Line only appears after waking from sleep
- Problem started suddenly with no physical trigger
The fix: Update or roll back graphics drivers (free, 15 minutes)
Cause 3: Failing LCD Panel (10% of cases)
Symptoms:
- Line is perfectly straight and never flickers
- Line visible in BIOS and on external monitor
- Problem appeared after physical impact or liquid exposure
The fix: Panel replacement ($100-300, professional recommended)
Cause 4: T-Con Board Failure (5% of cases)
Symptoms:
- Line accompanied by flickering or color distortion
- Multiple lines appearing
- Partial screen issues alongside the line
The fix: T-con board replacement ($30-80, moderate DIY)
How to Fix: Step-by-Step Solutions
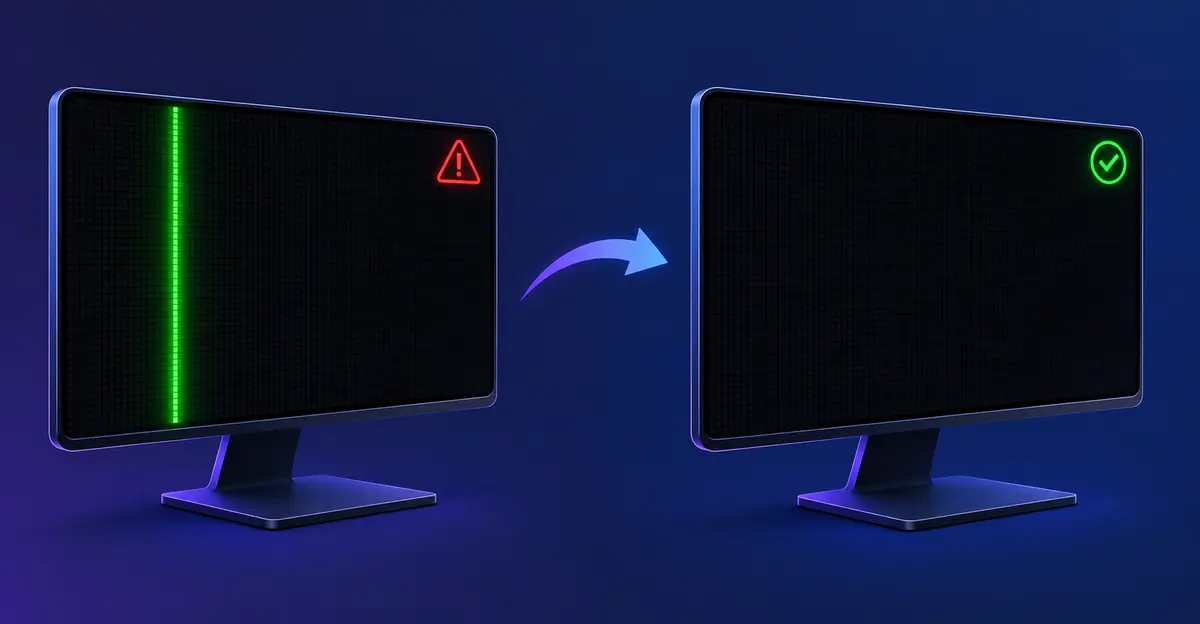
Solution 1: Update or Roll Back Graphics Drivers
If BIOS test showed no line in BIOS, start here:
To update drivers:
- Right-click Start → Device Manager
- Expand Display adapters
- Right-click your graphics card → Update driver
- Select Search automatically for drivers
To roll back drivers:
- Open Device Manager → Display adapters
- Right-click graphics card → Properties
- Go to Driver tab → Roll Back Driver
- Restart your laptop
Solution 2: Reseat the Display Flex Cable
This fixes bottom-edge green lines in the majority of cases:
Tools needed:
- Phillips screwdriver (PH0 or PH1)
- Plastic spudger or guitar pick
- Good lighting
Steps:
- Power off and unplug the laptop
- Remove bottom panel screws (typically 5-8)
- Locate the display ribbon cable near the hinge
- Disconnect by lifting the retention clip gently
- Reconnect firmly until the clip locks
- Reassemble and test
After reseating: Open and close the lid slowly while viewing a white screen. If the line changes or flickers, the cable routing needs adjustment or replacement.
Solution 3: Replace the Flex Cable
If reseating helps but the line returns, the cable is damaged:
To find the right replacement:
- Search: "[your exact laptop model] display cable"
- Verify connector type matches your panel
- Cost: $15-40 for most models
Solution 4: Panel Replacement
If all other fixes fail, the panel itself is damaged:
Signs it's panel failure:
- Line visible in BIOS
- Line visible on external monitor
- Line is perfectly straight and permanent
Cost: $100-300 for parts + $80-150 labor
Prevention Tips
After fixing your bottom-edge green line:
- Avoid extreme lid angles - open to about 120 degrees maximum
- Handle the lid gently - no twisting force
- Never close with objects on the keyboard
- Use a protective case when transporting
- Support with two hands when moving
Cost Summary
| Fix | Cost | DIY? | Time | Success Rate |
|---|---|---|---|---|
| Driver update/rollback | Free | Yes | 15 min | 70% for software |
| Cable reseating | Free | Yes | 30-60 min | 65% overall |
| Cable replacement | $15-40 | Yes | 30-60 min | 80% |
| T-con replacement | $30-80 | Moderate | 1-2 hrs | 75% |
| Panel replacement | $100-300 | No | Pro | 95% |
Related Guides
- Green Line on Laptop Screen - Comprehensive laptop green line guide
- How to Fix Laptop Screen Lines - All laptop line types
- Laptop Screen Flickering - Related hinge/cable issues
- Screen Test Tool - Diagnose your exact issue
Conclusion
A green line at the bottom of your laptop screen is almost always a flex cable issue caused by hinge stress. Run the external monitor test and BIOS test to confirm the cause, then work through the solutions in order: software fixes first (free), then cable reseating (free), then cable replacement ($15-40). Most bottom-edge green lines resolve without spending anything.