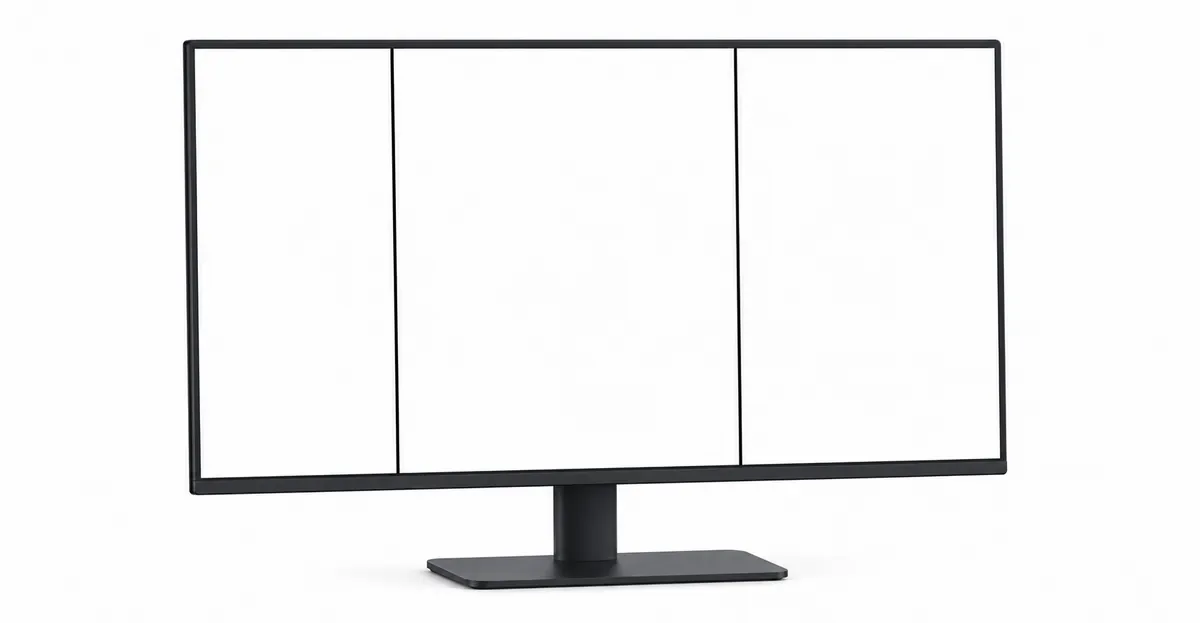
Vertical lines on LCD screen are among the most common display line problems. They run from the top of the screen to the bottom, crossing the entire display surface. Unlike horizontal lines (which indicate row electrode failures), vertical lines indicate column electrode failures — the vertical signal pathways that drive each pixel column from top to bottom.
Vertical Lines on LCD Screen: Causes & Fixes
Why Vertical Lines Appear on Your LCD Screen
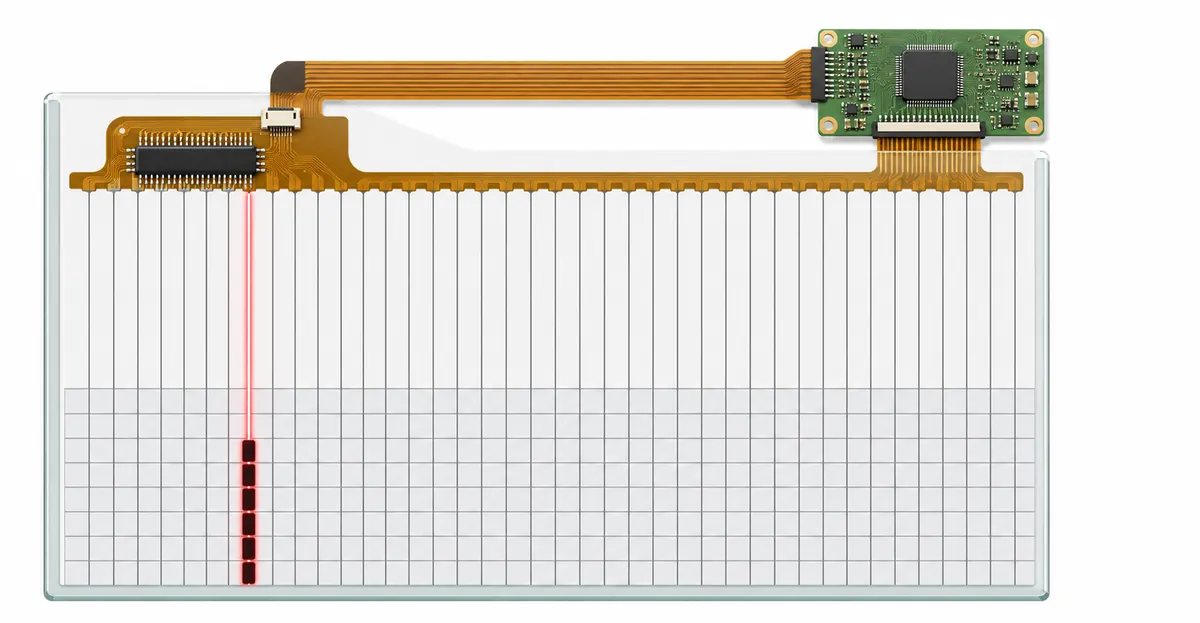
Vertical LCD lines are display artifacts caused by failures in the column electrode circuitry of the LCD panel. The column electrodes run vertically through the display — each electrode controls an entire column of pixels. When a column electrode fails, every pixel in that column displays the same incorrect value, creating a visible line running from the top to the bottom of the screen.
Vertical LCD lines can appear in different colours:
- Black vertical lines: The column electrode has completely failed — no signal reaches that column
- White vertical lines: The column electrode is permanently energised — the column displays white regardless of content
- Coloured vertical lines (red, green, blue): A specific sub-pixel column within the pixel column has failed
- Flickering vertical lines: The column electrode connection is intermittent — signal is arriving inconsistently
- Multiple adjacent vertical lines: More than one column electrode is failing at the same time
The key distinction from horizontal lines: vertical lines point to column driver failures, while horizontal lines point to row driver failures. Both involve the same underlying circuitry but in opposite orientations.
Column Driver Failure: The Root Cause Behind Most Vertical Lines
The root cause of most vertical LCD lines is column driver failure — either in the T-Con board that generates the signals or in the ribbon cable that carries them to the panel.
How the column driver system works:
Each LCD pixel sits at the intersection of a row electrode and a column electrode. The row electrode selects which pixel to update; the column electrode determines what colour to display. When you change the image, the display controller rapidly scans through each row, sending the correct colour value down each column at precisely the right moment.
If the column driver output on the T-Con board fails, one or more column electrodes stop receiving their signals. Every pixel in that column displays either nothing (black line) or a stuck colour (coloured line).
If the ribbon cable conductors carrying the column signals crack or break, the same thing happens — the signal never reaches the panel's column electrodes.
The most common failure points:
- Ribbon cable — individual conductors crack from heat and flex cycles. Most common on laptops (hinge movement) and aging monitors.
- T-Con board output — individual output channels fail from heat damage. More common on monitors 3+ years old.
- Panel column electrodes — microscopic traces in the glass degrade over time. Least common but least fixable.
- COF/COG bonding area — the connection between the driver IC and the glass substrate can desolder or corrode, severing the signal path to multiple columns.
- Tab bond failure — the flexible cable bonding the source driver chips to the panel glass can lift, causing intermittent or permanent column failures.
Laptop Flex Cable at the Hinge — Why Vertical Lines Point Here
On laptops, vertical lines almost always point to flex cable damage at the hinge. This is not coincidence — it is physics.
Why the hinge is the weak point:
The laptop flex cable carries signals for hundreds of pixel columns from the mainboard to the display panel. Every time you open and close the lid, this cable bends. Over months and years, the individual conductors inside the cable develop micro-cracks.
When a conductor carrying a column signal cracks, that column stops receiving data — producing a vertical line. Because each column has its own dedicated conductor, a single cracked conductor produces a single vertical line.
Signs of flex cable damage on laptops:
- The vertical line appeared gradually, starting faint and becoming more visible over weeks or months
- The line is located near the left or right edge of the screen
- The line flickers slightly when the lid is opened or closed at different angles
- The laptop is more than two years old
- There is no history of drops or physical impacts
- Pressing gently on the bezel near the line temporarily changes the line's appearance
Why this matters for repair: Flex cable replacement is one of the cheapest and most accessible laptop repairs — typically $10–$30 for the part. Before paying for panel replacement, always check the flex cable.
T-Con Board on External Monitors — The Timing Controller Failure
On external monitors, the T-Con board is the most common source of vertical lines. The T-Con (timing controller) is the circuit board that generates the row and column signals for the LCD panel.
How T-Con failure produces vertical lines:
The T-Con board has individual output channels — one for each column electrode on the panel. Each channel sends a precise voltage signal that determines what colour each pixel in that column should display.
When one of these output channels fails, every pixel in that column receives the same signal — typically the last value that channel sent before failing. This produces a vertical line that stays in exactly the same position regardless of what content is displayed.
Telltale signs of T-Con failure:
- The vertical line is perfectly straight and runs from top to bottom of the screen
- The line is in exactly the same position on all inputs (HDMI, DisplayPort, USB-C)
- The line does not flicker or change when you move the monitor
- The monitor is more than two years old
- A different computer produces the same vertical line
- Multiple adjacent vertical lines appear simultaneously
T-Con replacement cost: $15–$60 depending on the monitor model. The board is model-specific — photograph the existing board and search for the part number on eBay or Amazon.
Technical Deep Dive: How the Column Driver Path Actually Works
Understanding the precise signal path helps when diagnosing vertical lines.
Signal path from GPU to pixel column:
- GPU output: The graphics card renders each frame and outputs a digital video stream over HDMI, DisplayPort, DVI, or VGA.
- External cable: The cable carries the digital signal to the monitor's input board.
- T-Con board: The T-Con receives the digital signal and converts it into analog timing signals. It uses a serializer/deserializer (SerDes) chip to convert the parallel data stream into serial LVDS or eDP signals for the panel.
- Ribbon cable (LVDS/eDP): The ribbon cable carries serialized column data from the T-Con board to the panel's source driver ICs.
- Source driver ICs: These chips deserialize the signal and convert it back into parallel analog voltages — one per sub-pixel column. They are mounted on flexible cables (COF — Chip-On-Film) bonded to the panel glass.
- Column electrodes: The source drivers feed voltages into the column electrodes embedded in the panel glass, which extend from top to bottom of the display.
Where failures happen:
A vertical line appears whenever any step in this path is broken for a specific column. Failures can be:
- At the T-Con output (the serializer IC): Usually affects multiple columns simultaneously.
- In the ribbon cable (between T-Con and panel): Usually affects individual columns based on which conductor is broken.
- At the COF bonding (source driver IC connection): Usually affects groups of columns handled by one IC.
- In the panel glass electrode (the conductive trace): Usually affects individual columns; permanent.
The position and behaviour of the line helps determine which step has failed.
Source Driver ICs and COF/COG Bonding Failures
Modern LCD panels use source driver ICs mounted directly on the glass or on flexible cables bonded to the glass. There are two main bonding methods:
COF (Chip-On-Film): The driver IC is mounted on a flexible film that is bonded to the panel glass using anisotropic conductive film (ACF). This is the most common method in modern monitors and laptops. The ACF bond can degrade from heat, humidity, and mechanical stress, causing intermittent or permanent vertical lines.
COG (Chip-On-Glass): The driver IC is mounted directly on the panel glass. This eliminates the bonding step but makes the IC harder to replace. COG is common in smaller displays like tablets and smartphones.
Signs of COF/COG bonding failure:
- Vertical line that comes and goes with temperature changes (cold mornings show the line; warm afternoons hide it)
- Vertical line that responds to gentle pressure on the bezel
- Multiple vertical lines appearing together in a cluster
- Vertical line that appeared after the device was exposed to high humidity
Repair note: COF bonding failures are sometimes repairable by re-bonding (replacing the ACF and re-attaching the driver IC). This requires specialized equipment and is typically done by professional repair shops. Cost: $80–$200.
Diagnosis Quick Test (Use the Screen Test Tool)
The screen test tool is the fastest way to diagnose vertical line causes:
- Open the screen test tool and display pure black — vertical white or coloured lines will be immediately visible
- Switch to pure white — vertical black lines will appear as dark streaks
- Display individual red, green, and blue screens:
- If a vertical line is visible on ALL colour tests in the same position: column electrode failure
- If a vertical line is visible on only one colour test: single sub-pixel column failure (green, red, or blue channel)
- Note the exact position and width of the line — this helps identify whether one column or multiple adjacent columns are affected
- Test for intermittency: Watch the lines for 60 seconds during the colour test. Flickering or changing lines suggest loose connections; perfectly stable lines suggest physical electrode failures
- Pressure test: Gently press the bezel near the line. If the line changes with pressure, you have a bonding or connection issue (often fixable). If the line does not respond, you have a permanent electrode failure.
GPU vs. Monitor Vertical Lines — How to Tell the Difference
Before opening the monitor, rule out the GPU. Graphics card failures can mimic vertical lines.
Signs the GPU is the cause:
- Vertical lines appear on multiple monitors connected to the same computer
- Vertical lines change position when you change the screen resolution
- Vertical lines only appear in specific applications (games, video playback)
- Driver updates coincided with the lines appearing
- The GPU is overheating (fan running at full speed, hot to touch)
Steps to rule out GPU:
- Connect the monitor to a different computer. If lines persist: monitor hardware. If lines disappear: GPU issue.
- Update or roll back graphics drivers via Device Manager.
- Lower the resolution and refresh rate.
- Check GPU temperature with MSI Afterburner or HWiNFO.
If GPU is the cause, the fix is a driver update ($0) or GPU replacement ($150–$500), not monitor repair.
Step-by-Step Fix Sequence
Step 1 — Rule out cables and drivers (no disassembly):
- Replace the external display cable (HDMI, DisplayPort, VGA)
- Update or rollback graphics drivers
- Power cycle the monitor completely (unplug for 30 seconds)
- Reduce refresh rate to 60Hz
- Test with a different computer
Step 2 — Diagnose the failure type:
- Run the screen test tool
- If lines flicker or respond to pressure: loose connection → go to Step 3
- If lines are fixed and unresponsive: hardware failure → go to Step 4
Step 3 — Fix loose connections:
- Laptops: open the bezel and reseat the internal flex cable at the hinge
- Monitors: open the casing and reseat ribbon cables connecting panel to T-Con
- For COF bonding failures: apply gentle heat with a hairdryer to the bezel area (sometimes restores temporary contact)
- If reseating resolves it: cable was loose
Step 4 — Replace failed components:
- Laptops: replace the flex cable ($10–$30)
- Monitors: replace the T-Con board ($15–$60)
- For COF/COG failures: professional re-bonding ($80–$200) or panel replacement
- If neither works: panel replacement (last resort)
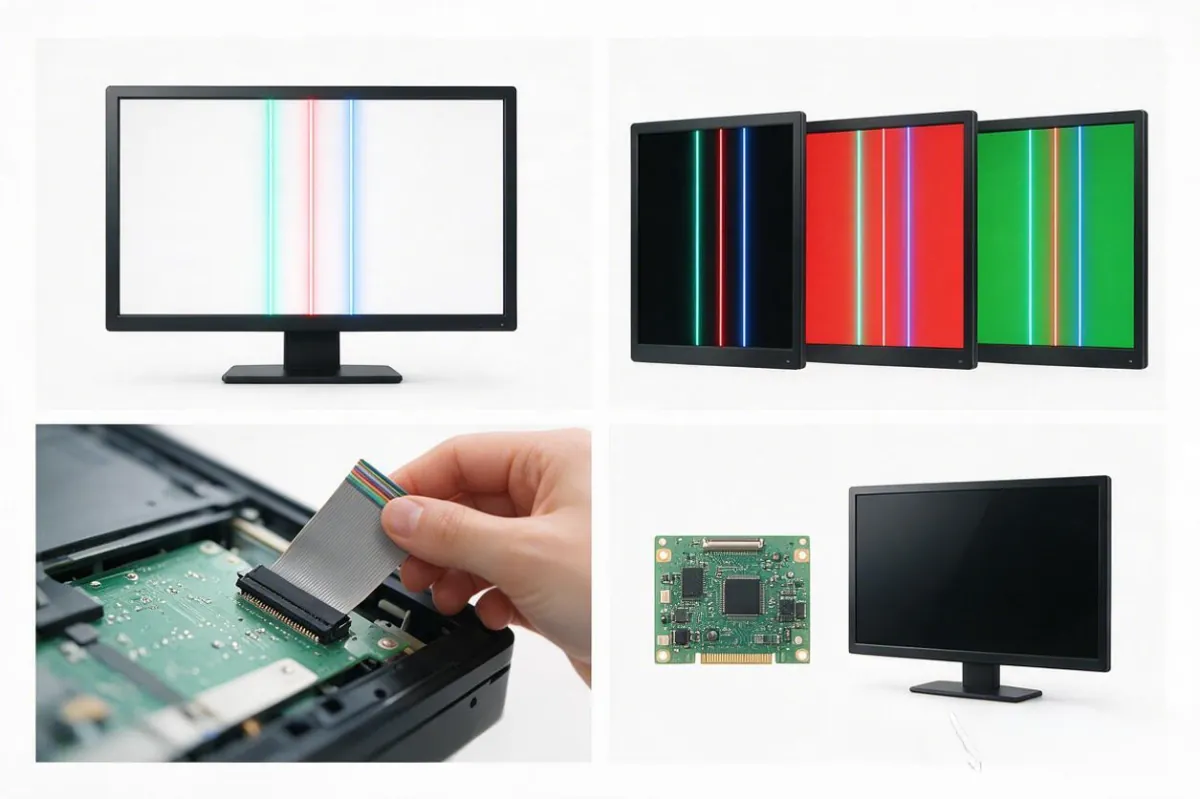
Real Case: An Acer Monitor's Vertical Lines Fixed by Reseating a Ribbon Cable
An Acer user reported two thin vertical white lines running from top to bottom on the left side of the screen. The lines had appeared suddenly after the monitor was moved to a different desk.
Initial assumption: The T-Con board had failed and needed replacement.
Diagnosis steps:
- Connected the monitor to a different computer — same lines appeared. Ruled out the source device.
- Opened the monitor casing (four screws on the back panel)
- Found the ribbon cable connecting the panel to the T-Con board was partially unseated from its connector
- Reseated the cable firmly, reassembled the monitor
- Both vertical lines disappeared completely
Total cost: $0. The monitor had simply been bumped during the move, loosening the internal cable.
Key takeaway: Before spending $20–$60 on a replacement T-Con board, open the monitor and check that all internal cables are firmly seated. Moving a monitor can loosen connections even if it looks fine from the outside.
When Panel Replacement Is the Only Option
Some vertical LCD lines indicate permanent panel failure that cannot be fixed by cable or T-Con replacement.
Signs that the panel itself has failed:
- Vertical lines appeared suddenly with no trigger (no movement, no bump, no driver update)
- The lines are perfectly stable — they never flicker, shift, or change
- New vertical lines are appearing adjacent to existing ones
- The panel is more than five years old
- Reseating cables and replacing the T-Con board did not resolve the issue
- Pressure on the bezel does not affect the lines
Panel replacement costs:
| Device Type | Panel Cost | Labour | Total |
|---|---|---|---|
| 22–24" monitor | $50–$100 | $30–$60 | $80–$160 |
| 27–32" monitor | $100–$200 | $40–$80 | $140–$280 |
| Laptop screen | $80–$200 | $40–$100 | $120–$300 |
| 32"+ / 4K monitor | $150–$350 | $50–$100 | $200–$450 |
The 50% rule: If the repair cost exceeds 50% of the device's current replacement value, it is usually better to replace the device entirely.
Prevention — How to Reduce Vertical Line Risk
For laptop users:
- Open and close the lid gently — avoid forcing it past the normal range
- Do not lift the laptop by the screen
- Keep the laptop away from extreme temperatures (cars in summer, freezing garages)
- Use a protective sleeve during transport
- Avoid leaving the laptop in direct sunlight for extended periods
For monitor users:
- Mount monitors securely to reduce vibration
- Avoid placing monitors near heating vents or in direct sunlight
- Use a surge protector to prevent power spike damage
- Clean dust from ventilation holes annually
- Power off the monitor during thunderstorms (or use a quality surge protector)
General best practices:
- Keep firmware and drivers up to date
- Use the monitor's native resolution and recommended refresh rate
- Avoid static discharge by grounding yourself before touching cables
- Replace aging cables before they fail (cables over 5 years old are at higher risk)
Related LCD Line Problems
- LCD Line Hub: Overview of all LCD line types
- Horizontal Lines on LCD: Row electrode failures
- Black Lines on LCD: Dead column failures
- Green Lines on LCD: Coloured vertical line issues
- How to Fix LCD Lines: Complete repair guide
- Screen Test Tool: Test your screen
Conclusion
Vertical lines on LCD screens indicate column electrode failures — caused by ribbon cable damage, T-Con output failures, or physical panel defects. The most common cause on laptops is flex cable damage at the hinge. On external monitors, the T-Con board is the most likely culprit. Always try reseating internal cables before replacing components. Use the screen test tool to confirm the failure type and track whether lines are changing over time.